Leather Videos
Leather, in a minute
at a time.
Short animated lessons from our Istanbul atelier — how a hide is built, how to judge its quality, how to care for it and bring it back, and how a saddle stitch is made by hand. Tap a card to watch it here. For the full written reference, read The Leather Guide.
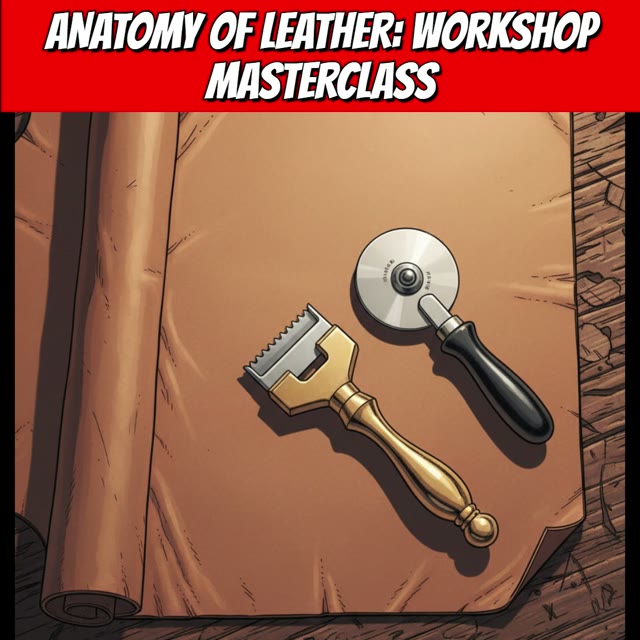
Anatomy of Leather
Animated lesson · 1:00 · ▶ Watch
Thirteen terms in one minute: the grades from full-grain down to bonded, suede and nubuck, vegetable vs chrome tanning, pull-up, shell cordovan, exotics, the burnished edge and ounce grading.
- Full-grain leather — the apex tier. Completely un-sanded, it keeps the toughest natural surface, dense fibres and unique organic imperfections.
- Top-grain leather — the second tier. The outermost layer is skived and sanded away for a perfectly uniform, blemish-free finish.
- Genuine leather — made from the lower corium layers, heavily processed, dyed and embossed with artificial patterns to imitate higher grades.
- Split leather and suede — the innermost layer. It drops the dense top grain entirely, giving a pliable, velvety, fibrous nap.
- Nubuck — top-grain leather lightly sanded on the outer surface: the durability of the outer hide with a soft finish.
- Bonded leather — the lowest grade. Shredded leather scraps reconstituted with polyurethane binders: a composite without real structural integrity.
- Vegetable tanning — cured over months with tree barks and natural tannins. It yields stiff, durable hides ready for tooling and a lifetime of patina.
- Chrome tanning — the industrial standard. Hides are saturated in chromium salts in days, giving water resistance, suppleness and locked-in colour.
- Pull-up leather — heavily conditioned with waxes and oils. When it is stretched or creased, the oils move and the colour lightens.
- Shell cordovan — an equine hide cut from the flat muscle beneath the rump: extremely dense, visually poreless and resistant to fine creasing.
- Exotic hides — reptile and bird leathers with hard, distinctive scales that need specialised cutting and skiving.
- The burnished edge — raw fibres fused with friction, gum tragacanth and beeswax into a smooth, glass-like protective edge.
- Ounce grading — hides are classified by weight and thickness per square foot, and that measurement decides what each hide can be used for.
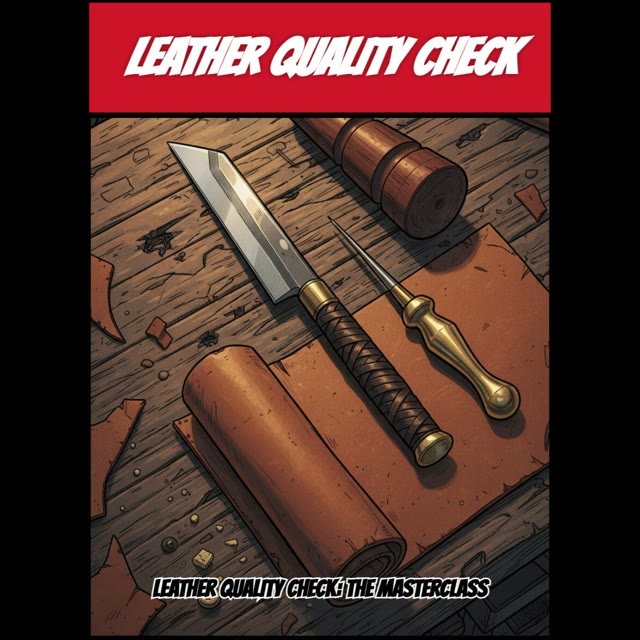
Leather Quality Check
Animated lesson · 0:28 · ▶ Watch
Six quick tests: read the pores, look at the cut edge, try a drop of water, burnish a strip, bend it for the pull-up, and see whether a scratch heals.
- Inspect the pores — real quality has chaos; fakes have repeating patterns.
- The cross-section cut — dense fibres signal strength; loose filler signals junk.
- The water test — quality hides drink moisture; plastic coatings repel it.
- The burnish — vegetable-tanned leather fuses into glass; cheap chrome-tanned leather just frays.
- The bend test — quality shows a "pull-up" burst of lighter colour; low grades crack.
- The scratch heal — oils redistribute and heal light marks; plastic scars forever.
The Master's Care Guide
Animated lesson · 1:01 · ▶ Watch
A care routine that lasts decades: brush, clean with a pH-balanced cleaner, condition, air-dry, store in cotton, plus fixes for grease stains, suede, scuffs and fading.
- Step 1 — brush away surface dust and dirt with a soft horsehair brush.
- Step 2 — use a damp cloth and a pH-balanced leather cleaner. Never use harsh household detergents.
- Step 3 — massage in leather conditioner every three to six months to replenish oils and prevent cracking.Atelier note: For a bag or wallet in everyday use we feed it twice a year — a pea-sized amount of beeswax or lanolin balm, buffed in. Leather that is still supple needs nothing; more leaves it limp, dark and tacky. Over-conditioned leather →
- Step 4 — always air-dry at room temperature. Never use radiators or hairdryers.
- Step 5 — store pieces in breathable cotton bags. Plastic containers trap harmful moisture.
- Oil or grease stains — never use water. Sprinkle cornstarch or talcum powder on the spot and leave it overnight; the powder draws the oil out of the pores, and you brush it off the next day.
- Suede and nubuck are different — use a suede brush to restore the nap and remove dust, without liquid cleaners.
- Scuffs or faded colour — a pigmented leather cream matched to the piece restores depth and colour.
- A water-repellent protective spray once a year forms a barrier against rain, snow and spills.Atelier note: If you protect it, use a wax-based protector — or a suede-specific spray on suede and nubuck — and test a hidden corner first. Never silicone or "shine" sprays: they seal the surface the leather breathes through, and it cannot be fed afterwards. Can leather get wet? →
- Trust your senses — leather that feels stiff or looks dull is asking for moisture.
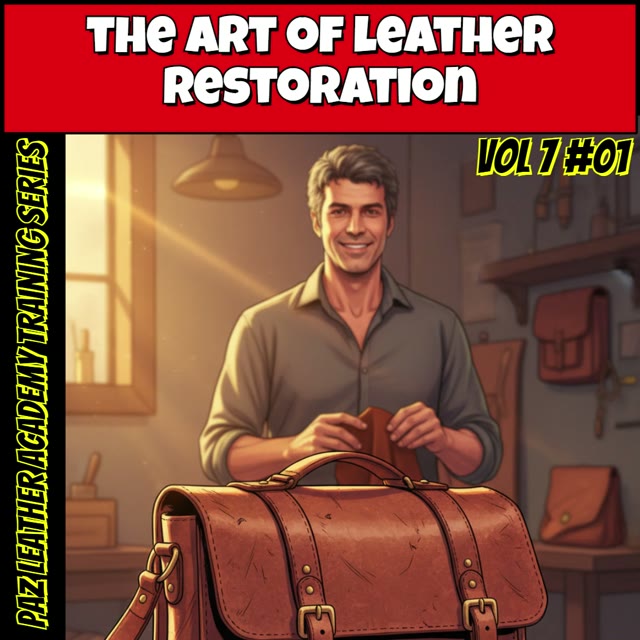
The Art of Leather Restoration
Animated lesson · 1:04 · ▶ Watch
Thirteen steps to restore a vintage bag: deep clean, unstitch and re-stitch, replace worn pieces, rehydrate creases, clean the brass, touch up the dye, re-seal the edges and wax.
- Step 1 — assess the damage and deep-clean with saddle soap to lift decades of dirt.
- Step 2 — unstitch damaged seams with a sharp awl, preserving the original holes.
- Step 3 — skive and cut replacement pieces with a traditional round knife.
- Step 4 — punch new holes with a diamond stitching chisel and mallet for clean alignment.
- Step 5 — clamp the piece in a stitching pony and sew a traditional saddle stitch for maximum durability.
- Step 6 — burnish the edges and massage a heavy conditioner into the leather to bring back its lustre.
- Step 7 — lift decades of oxidation from brass hardware with a fine wire brush and a precision awl.
- Step 8 — rehydrate deep creases by working balm into the fibres with a bone folder.
- Step 9 — insert wooden blocks and apply gentle heat to reshape crushed gussets.Atelier note: In our atelier we reshape with the wooden blocks and time alone. Heat — a radiator, hair dryer or heat gun — shrinks and stiffens the fibres permanently; it is the one kind of damage that cannot be undone. What should never touch leather →
- Step 10 — touch up scuffed corners with a wool dauber and a matching penetrating dye.
- Step 11 — re-seal exposed edges with gum tragacanth and a hardwood burnishing slicker.
- Step 12 — work carnauba wax over the whole piece with a dense canvas cloth to lock in moisture.
- Step 13 — buff with a dense horsehair brush for a deep, lasting shine.
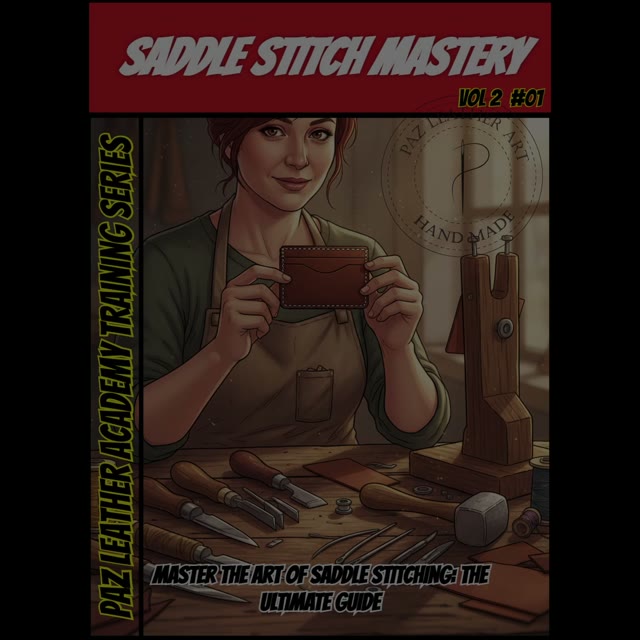
Saddle Stitch Mastery · Level 1
Animated lesson · 0:36 · ▶ Watch
The saddle stitch from the first line to the last knot: score with a wing divider, punch straight, lock the needles, cast the stitch, keep the tension even and finish strong.
- Set the guide — score a straight stitching line with a wing divider.
- Punch with precision — keep the pricking irons perpendicular for clean exit holes.
- Lock the needle — pierce the thread with the needle so it cannot slip off.
- The cast — cross the two needles in each hole and loop the thread for the signature slanted stitch.
- Consistent tension — pull both threads equally outward to seat every stitch.
- Finish strong — backstitch twice and melt the thread ends.
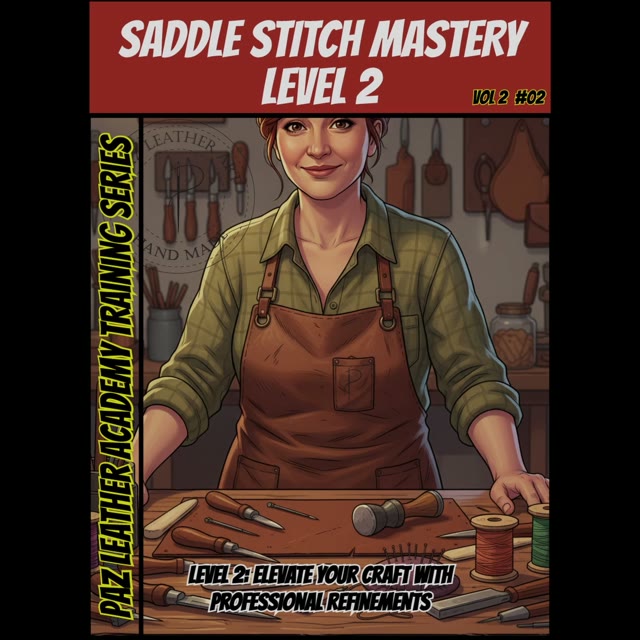
Saddle Stitch Mastery · Level 2
Animated lesson · 0:37 · ▶ Watch
Professional refinements: taper and wax the thread, work in a stitching pony, space the stitches around corners, flatten the line, then crease and burnish the edge.
- Taper the thread ends so they enter the needle eye cleanly.
- Condition the thread with beeswax to reduce friction and fraying.
- Use a stitching pony — a "third hand" that holds the work steady and keeps your posture right.
- Balance the spacing on corners so stitches do not crowd.
- Hammer the stitch line flat for a smooth profile.
- Heat the creaser for the decorative line along the edge.
- Burnish the edges with wood and canvas for a professional finish.
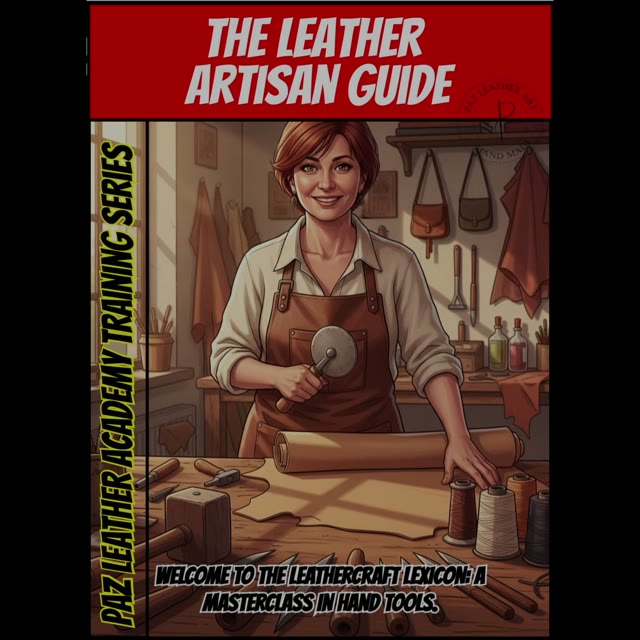
The Leather Artisan Guide
Animated lesson · 0:57 · ▶ Watch
A lexicon of eleven hand tools — round knife, pricking irons, stitching pony, edge beveler, wood slicker, skiving knife, wing divider, diamond awl, French skiver, hot creaser and maul — and what each one is for.
- The round knife — master the curve: roll the wrist, never drag the blade.
- Pricking irons — mark the stitch path; keep the tool perpendicular for even spacing.
- The stitching pony — your third hand; it keeps constant tension on the locking stitch.
- Edge beveler — rounds off the sharp corners of an edge before burnishing.
- Wood slicker — friction and heat turn a sanded edge into a glassy one.
- Skiving — thinning the leather, feathering the edge to nothing for a fold without bulk.
- Wing divider — sets the stitching margin and scribes a crisp guide line without scratching the grain.
- Diamond awl — align its cutting edges to set the slant of the stitch.
- French skiver — gouges precise channels to control how a piece folds.
- Hot creasing — a heated creaser compresses the fibres into a defining border line.
- Weighted maul — a dead-blow strike that transfers energy efficiently and spares the wrist.
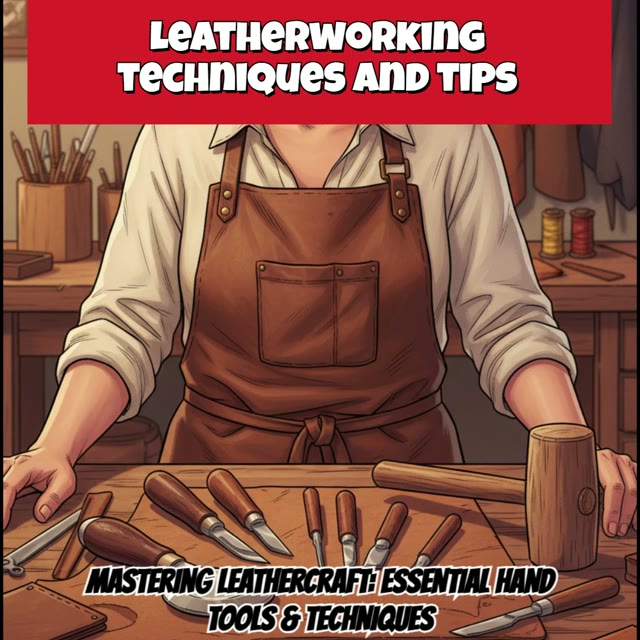
Leatherworking Techniques and Tips
Animated lesson · 0:56 · ▶ Watch
Thirteen bench techniques: cutting with a round knife, skiving folds, punching straight, saddle stitching, bevelling, wet moulding, grooving, the box stitch, creasing, copper rivets, the diamond awl, stropping and finishing.
- Keep the blade razor sharp and drive the round knife from the shoulder, not just the wrist, for clean straight cuts.
- Skiving reduces bulk at folds — hold the knife at a low angle and push steadily to taper the edge.
- Hold pricking irons perfectly perpendicular and strike firmly with a mallet for even, diamond-shaped holes.
- The saddle stitch is stronger than a machine lockstitch: two needles cross in every hole and lock each stitch in place.
- Before burnishing, an edge beveler removes the sharp corners, leaving a round profile ready to polish.
- Wet moulding turns flat leather into a form: soak vegetable-tanned leather and shape it over a mould with a bone folder.
- A stitching groover recesses the thread, protecting the stitches from abrasion and adding a clean border.
- For rigid structures, the box stitch: pierce the leather at 45 degrees to join edges with an invisible seam.
- A hot creaser compresses the fibres and leaves a decorative line that defines the contour.
- Permanent joins use solid copper rivets: drive the burr down tight, snip the post and peen it into a smooth dome.
- For thick assemblies, the diamond awl — keep the blade straight so the stitches on the back stay true.
- A dull tool is a dangerous tool: frequent stropping with polishing compound keeps a mirror edge.
- Finally, nourish the grain with a quality balm or oil and buff gently to bring out the patina.Atelier note: Use a balm made for leather. Never a kitchen oil — olive or coconut oil goes rancid inside the fibre and darkens the hide unevenly. What not to put on leather →
The Home Leather Atelier
Animated lesson · 1:36 · ▶ Watch
Thirteen steps to set up a leather workshop at home: bench and mats, knives, marking and punching, stitching, edges, rulers, glue, the awl, hardware, skiving, sharpening and a tidy table.
- Step 1, the foundation — a sturdy workbench with a self-healing mat for cutting and a granite slab for stamping.
- Step 2, the cut — high-carbon steel: a Japanese skiving knife for detail and a round knife for curved cuts. Use a steel ruler and a razor edge.
- Step 3, the mark — scribe guide lines with wing dividers before punching stitching holes with pricking irons.
- Step 4, the punch — drive the irons with a weighted poly maul, never a metal hammer, and keep them vertical.
- Step 5, the stitch — clamp the work in a stitching pony and sew the saddle stitch with two harness needles and waxed linen thread.
- Step 6, the finish — glass-smooth edges with an edge beveler, gum tragacanth and a wood slicker.
- Step 7, the line — a cork-backed metal ruler stops slipping and guards your fingers from the blade.
- Step 8, the bond — glue before stitching: thin layers of water-based glue or contact cement hold the assembly.
- Step 9, the pierce — where irons cannot pass through thick layers, a diamond awl leads the way.
- Step 10, the hardware — set rivets and snaps with a small anvil and hand setter.
- Step 11, the fold — a safety skiver thins edges for clean folds without a heavy knife.
- Step 12, the maintenance — strop your blades on leather with compound every twenty minutes; sharpness is safety.
- Step 13, the discipline — keep the workspace tidy: poly on steel, never metal on metal, and every tool in its place.