Guide · 4 September 2026 · by Zafer
Olive oil, Vaseline, baby wipes: what not to put on leather
Every kitchen cure for leather works beautifully for about a week. That is precisely why the advice spreads — and precisely why we keep meeting the bags a year later.
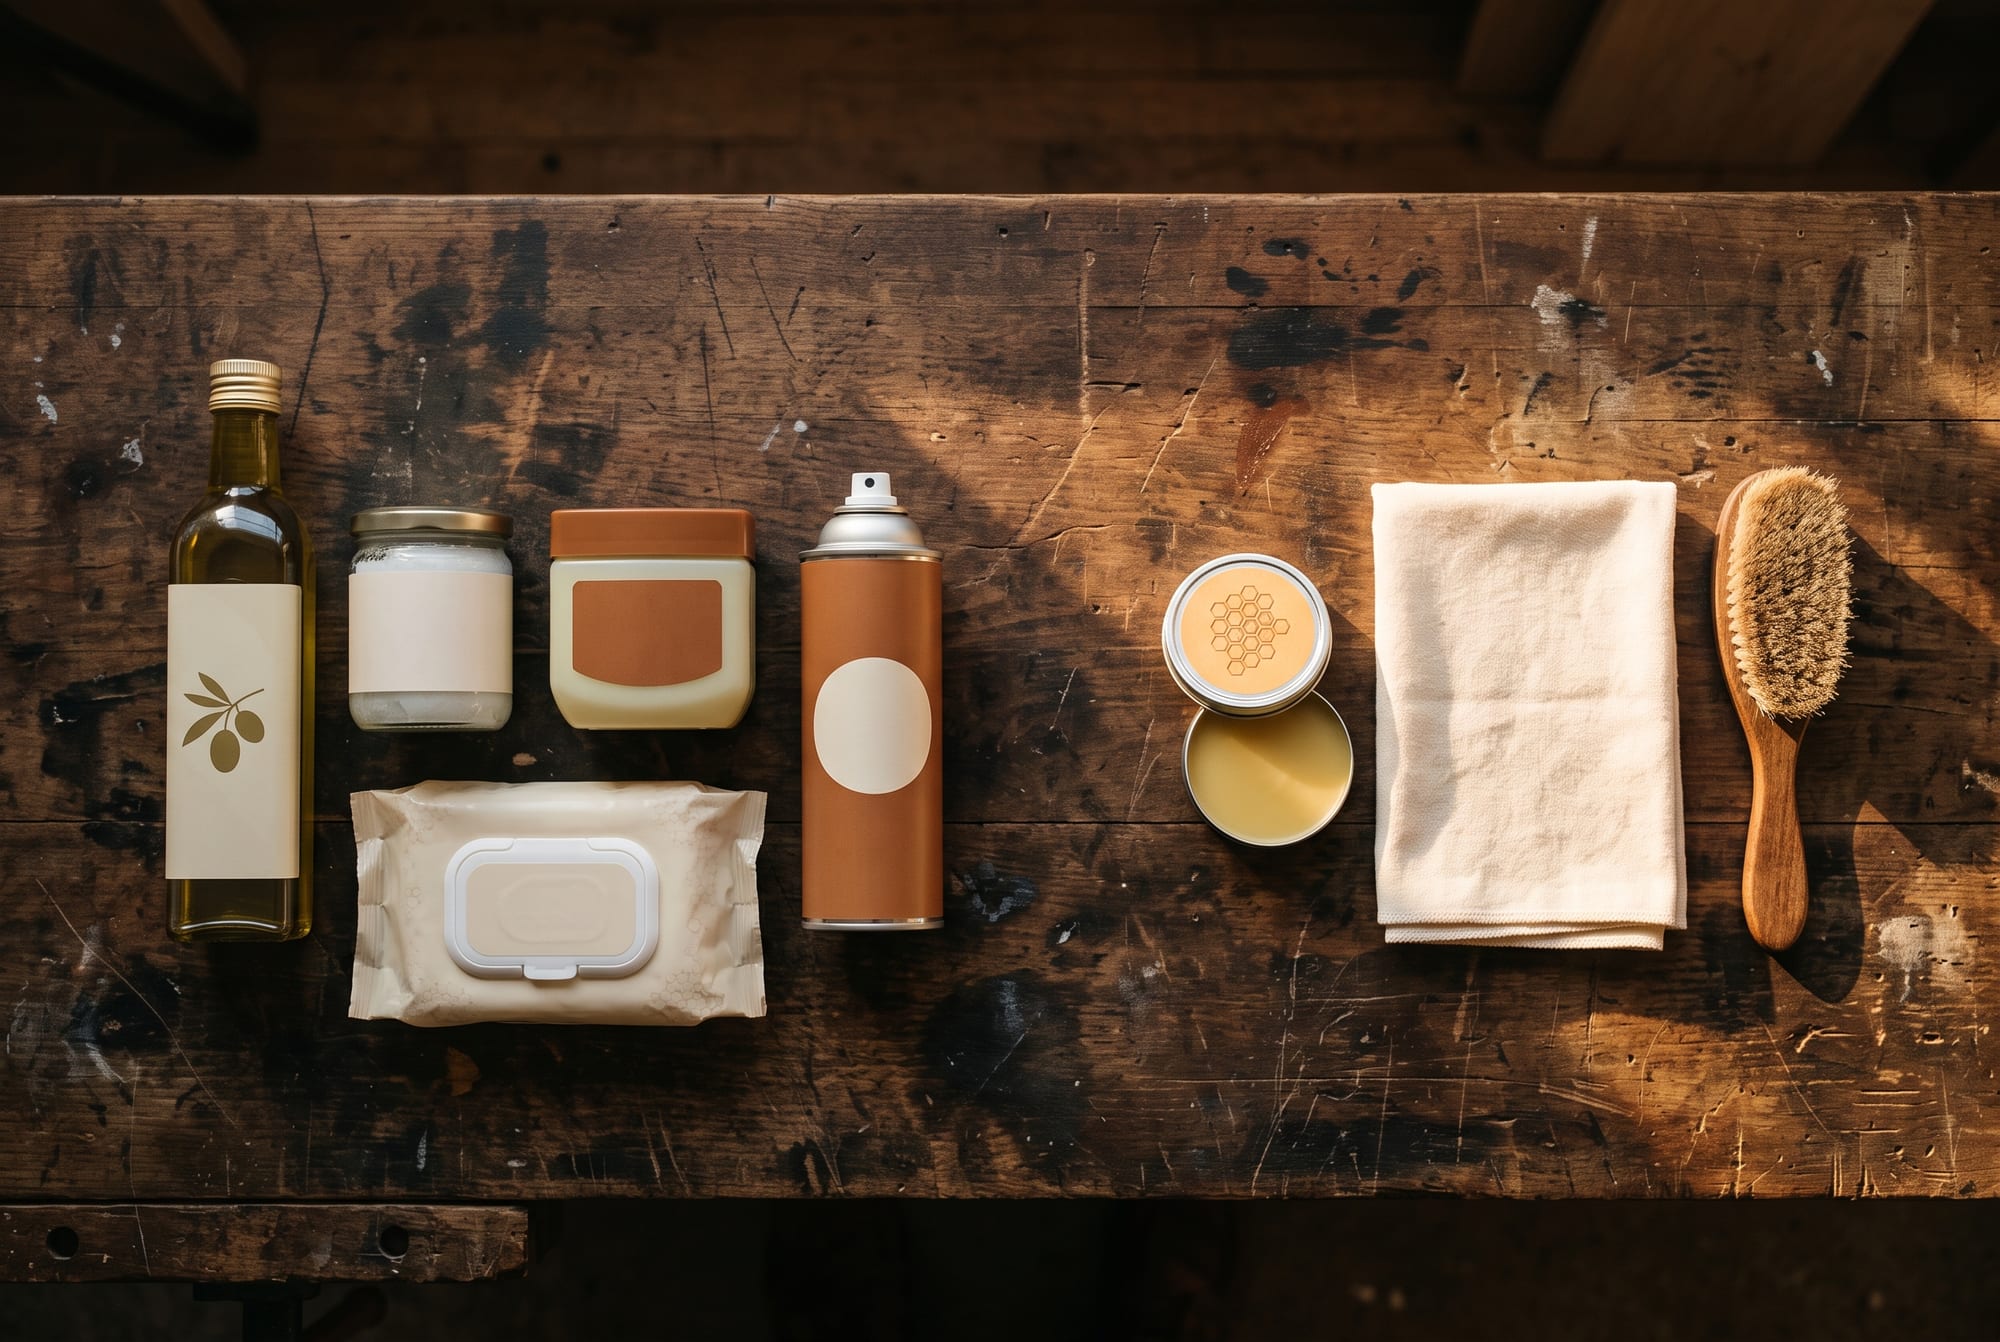
Roughly once a week, a photograph arrives at info@pazleather.com showing a leather bag with dark, uneven patches, and a message that begins: I only rubbed a little olive oil into it. The bag looked wonderful the evening it was done. It looked wonderful for a week. Then the hide began quietly working through the consequences, and by month six the owner had a stain no one can remove.
I want to be fair to the person holding the bottle. The internet is full of leather “hacks” that share three qualities: the ingredient is already in your kitchen, the result is visible in thirty seconds, and someone’s grandfather swears by it. That combination is unbeatable as advice and dreadful as chemistry. So here is the blacklist — with reasons, because a rule you understand is a rule you keep.
Why every kitchen cure looks like a success
Rub almost any oil into a dry hide and two things happen instantly: the surface darkens and the light starts to sit on it differently. Our eyes read that as nourished. It isn’t. It is the optical effect of filling the top few tenths of a millimetre with liquid — the same reason a paving stone looks richer wet.
Real conditioning is a slower, duller business: replenishing fats that sit between the collagen fibres and stay chemically stable there for months, so the fibre bundles keep sliding over one another instead of cracking. The fats that do this best — lanolin, beeswax, refined animal fats — were selected over centuries because they are boring: they do not oxidise quickly, they do not feed bacteria, they do not turn.
Cooking oils are the opposite by design. They are food. Food is unstable on purpose.
The kitchen cabinet, item by item
Olive oil (and sunflower, vegetable, canola). The famous one. Plant oils oxidise — that is what “rancid” means — and they do it inside the hide where you cannot wash them out. Worse, they stay liquid, so they migrate: gravity and warmth pull them downwards and outwards over months, which is why the mark you see in month three is never the shape you applied. They wick along the stitching into the thread and the lining. The smell that arrives later is unmistakable and permanent. If you take one thing from this article: never oil a hide with something you would put on a salad.
Coconut oil. Popular because it is solid in the jar and melts on contact, which feels purposeful. It is a saturated fat: it sets in the pores rather than dispersing between the fibres, holds dust, and eventually turns like any other food fat. On soft garment leather it over-softens; on a structured bag it leaves a waxy bloom you can scratch with a fingernail.
Petroleum jelly / Vaseline. The one people are most surprised by. Petroleum jelly does not feed a hide at all — it is a barrier. It sits on the surface as a film, gives you the shine you were after, traps every particle of dust in the room, and can haze or soften certain finishes underneath. It is also close to impossible to remove without solvents that damage the leather more than the jelly did.
Hand cream and body lotion. Mostly water, emulsifiers, fragrance and preservatives. The water leaves, the rest stays: a slightly sticky residue with a smell, and salts that show up as pale streaks on darker hides.
Baby wipes. Genuinely convincing at first — the wipe comes away brown and the bag looks cleaner. Some of that brown is dirt; some of it is your finish. Wipes carry surfactants, preservatives and, in many brands, alcohol, and they are designed to lift oils off skin. Repeat the trick monthly on the same corner and you will produce a matte, thirsty patch that no longer matches the rest of the bag.
Alcohol, acetone, nail-polish remover, hairspray. These dissolve dye and finish on contact. The classic disaster is the ballpoint mark someone treats with hairspray or alcohol: the ink spreads, the surface lifts, and a two-millimetre line becomes a two-centimetre pale ghost. There is nothing to do about it afterwards but re-finish the panel.
Dish soap, bleach, undiluted vinegar. A tanned hide lives at an acidic pH, and its finish is built for that. Alkaline detergents strip the fats out of the top layer — the bag squeaks, then dries. Bleach attacks the fibre itself and the damage is structural, not cosmetic. Vinegar has a legitimate, diluted role in one situation only, which is mould, and we’ll come to it in the storage guide.
WD-40, furniture polish, silicone waterproofing sprays. Solvent carriers plus something that seals. Sealing a smooth hide sounds like protection until you understand that it stops the leather exchanging moisture with the air — and that nothing you apply afterwards can get in. Suede is the single exception, with a suede-specific spray; we explain why here.
Heat. Not a product, but the most common accelerant. A hairdryer on a damp bag, a radiator, a sunny car dashboard: heat shrinks and hardens wet fibre permanently. The water was the incident; the heat is the injury.
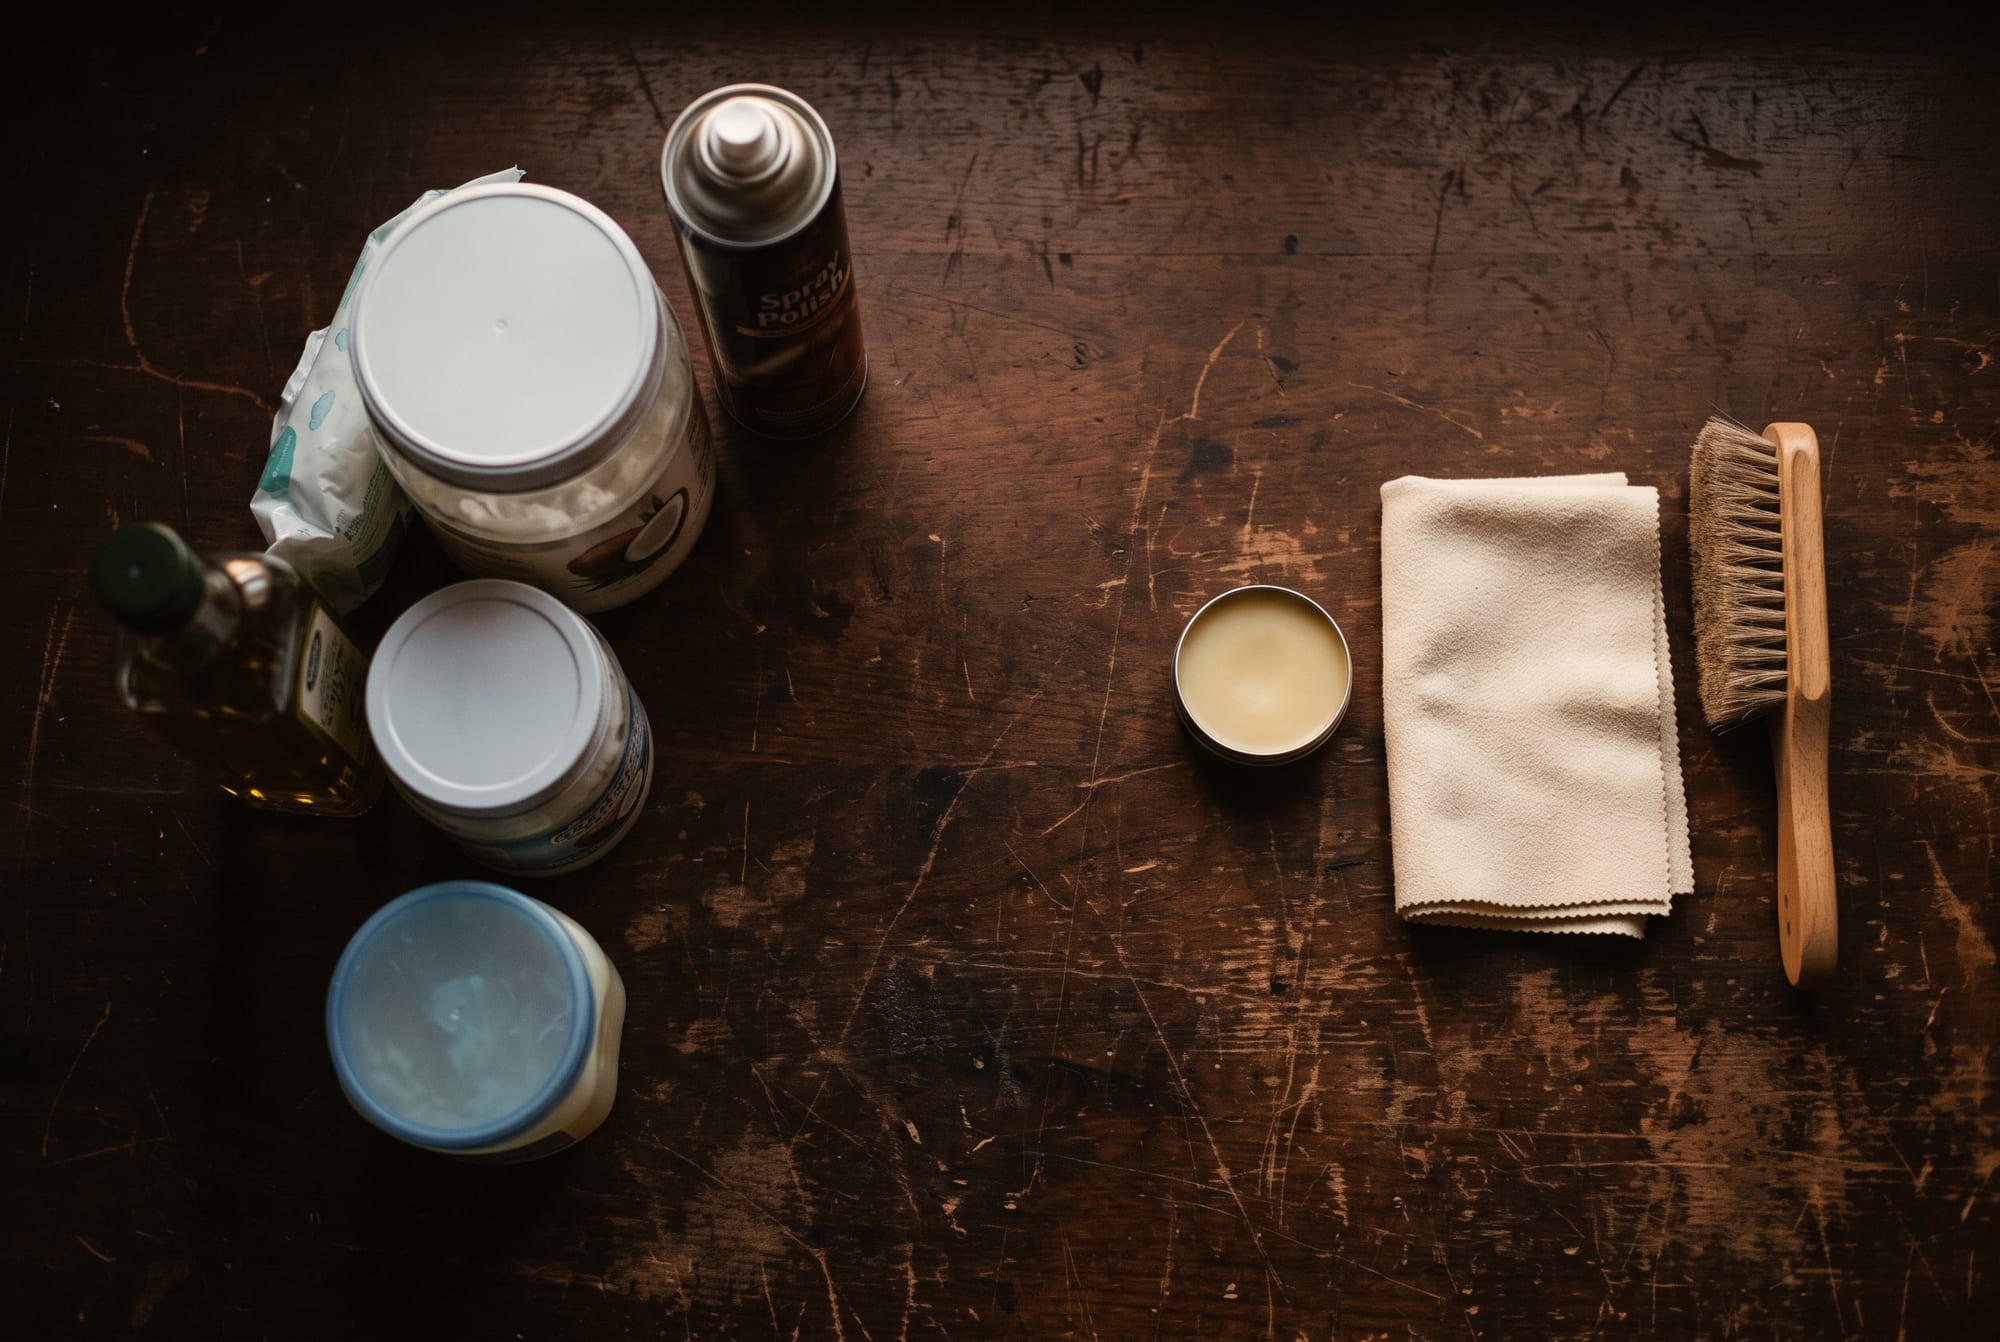
The near-misses — real products, wrong job
These are not myths. They are legitimate leatherworking materials used on the wrong object, which is a subtler mistake and therefore more common.
- Saddle soap is a cleaner, not a conditioner. Occasional use on a genuinely dirty hide is fine; habitual use dries it out, because that is its job.
- Neatsfoot oil is excellent on work boots and horse tack, where limpness is a feature. On a structured bag it over-softens the panels so they slump, and it darkens permanently — there is no lightening a hide afterwards, so the colour you chose stops being the colour you own.
- Mink oil is a heavy water-repellent for outdoor gear. It will darken a light hide by two or three shades and dull a crisp finish.
- Beeswax polish belongs on waxed pull-up hides and burnished edges. On a matte veg-tan bag it builds into a shell that traps dirt.
- Any conditioner, applied often. More is not better. An over-fed hide goes spongy, loses its structure, and will bloom a greyish film. Twice a year is enough for a bag in daily use, and we mean thin coats — the care guide has the method.
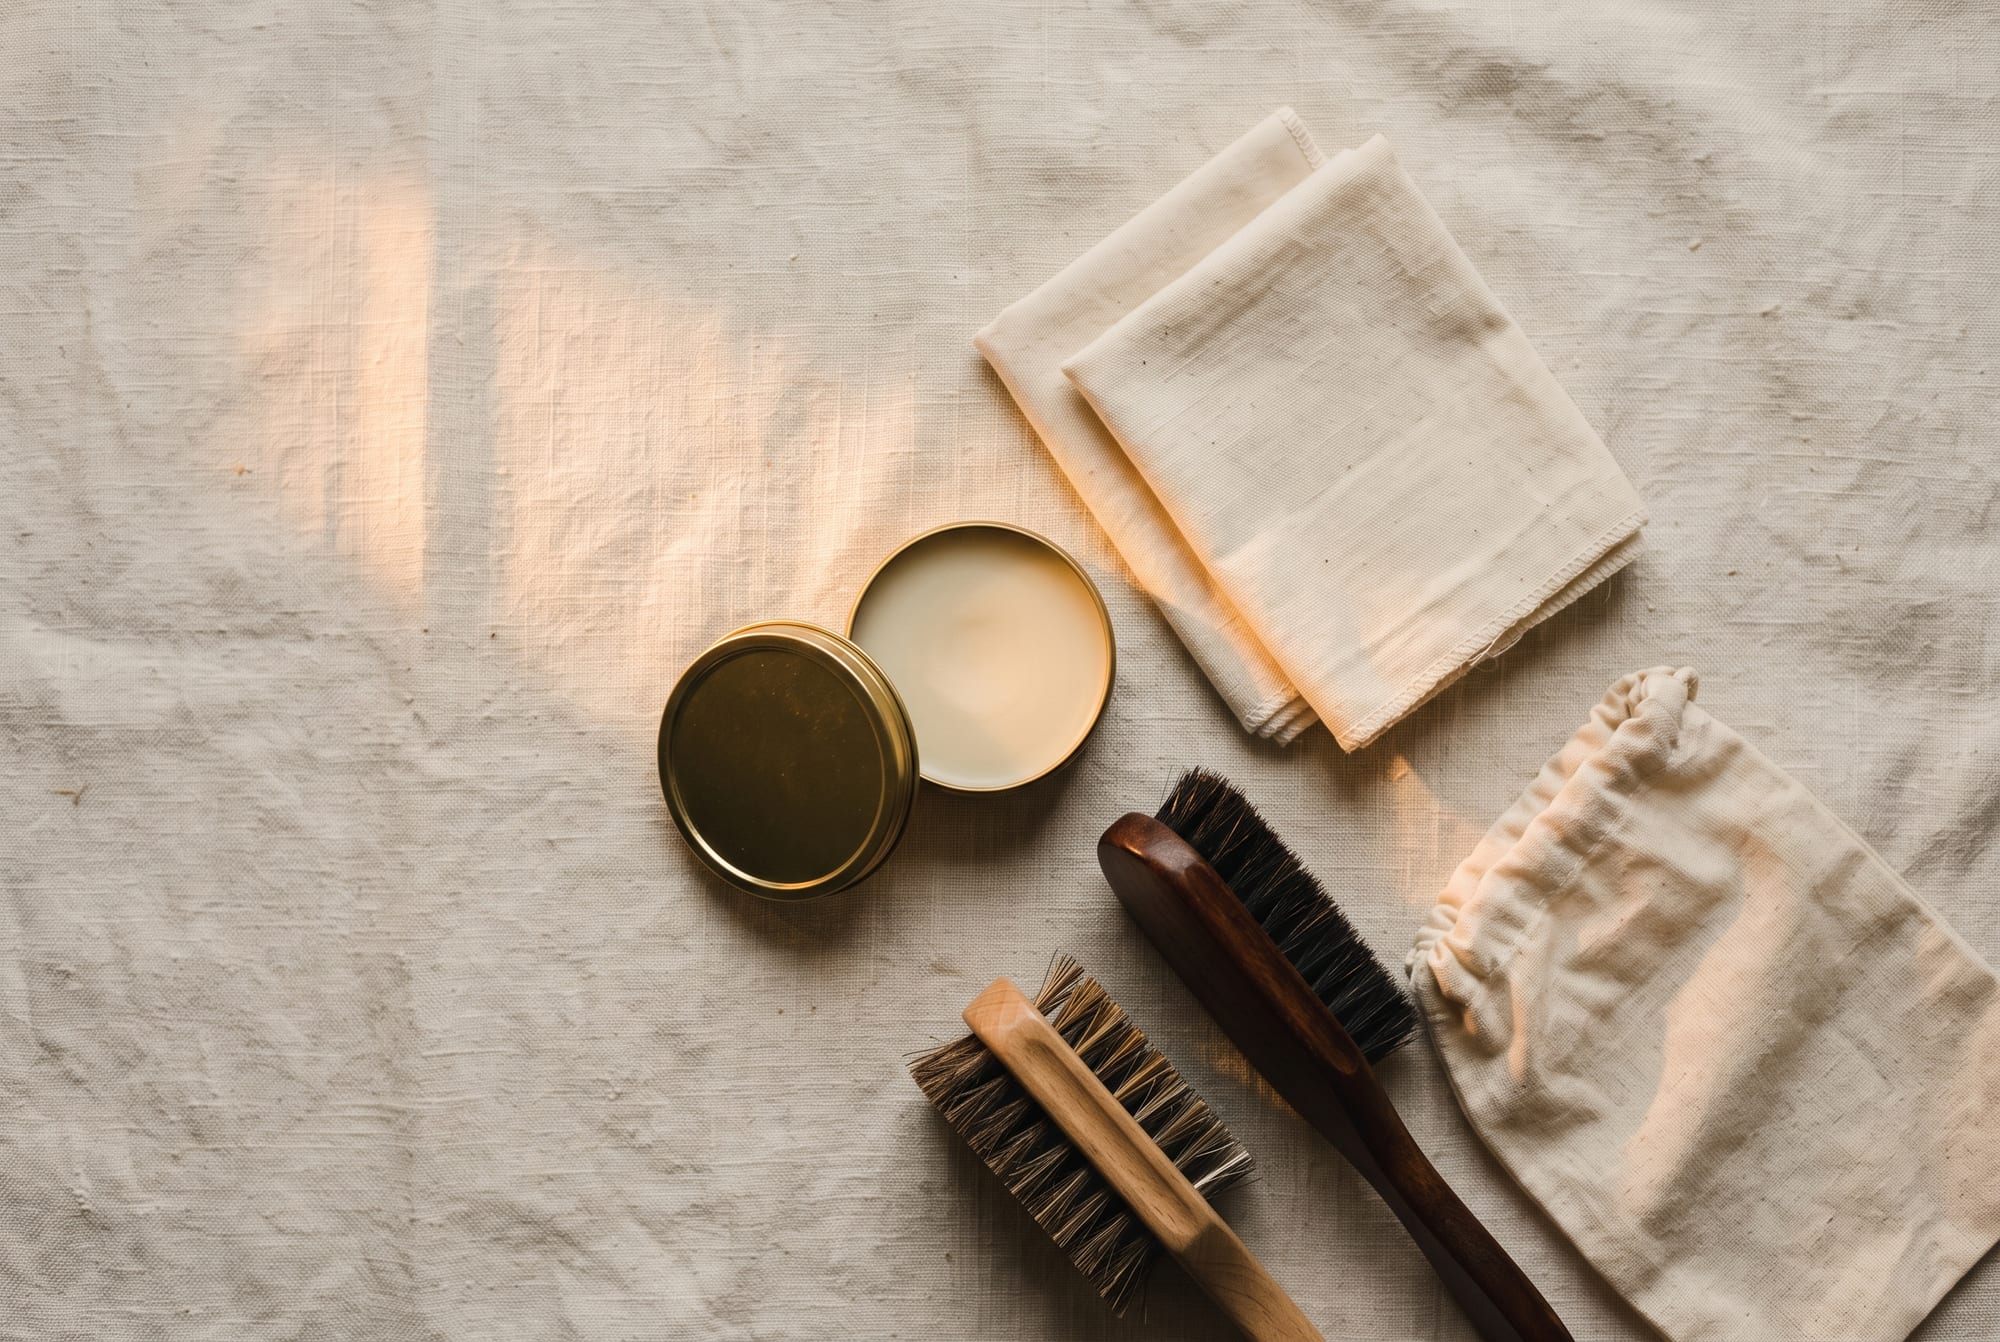
What we actually keep at the bench
The honest list is embarrassingly short, and it has not changed in the years we have been doing this.
If you have already oiled it
Most of these bags can be improved, and none of them are improved by panic. The sequence:
- Stop, and add nothing else. The instinct to even it out with more oil is the one that turns a patch into a bag.
- Lift what is still on the surface. A clean, dry, absorbent cloth, pressed rather than rubbed. If it is fresh and greasy, cornstarch overnight will pull some of it out of the pores.
- Give it warmth and weeks. A dry room, out of direct sun, in the open air. Oil inside a hide keeps moving; some blotches genuinely level out over a month or two.
- Do not condition it while it is dark and tacky. You would be adding fat to a hide that is already saturated with the wrong kind.
- If it smells, that is the verdict. A rancid smell means the oil is oxidising inside the fibre, and no home process reverses it. A specialist leather cleaner can sometimes reduce it; often the honest answer is that the bag is now a bag with a story, and restoration is about structure rather than colour.
Send us a daylight photograph before you try anything — the shape and the sheen of a blotch tell us how deep it went, and that decides everything.
How to spot the next bad tip
You do not need a chemistry degree; you need one question. Where is the five-year photograph? Every hack on the blacklist is documented at thirty seconds and never at five years, because five years is where it falls apart. Advice worth taking is boring, slow, and usually ends with less than you think, twice a year.
Every kitchen cure works for a week. Leather is a ten-year material — so a week is not the timescale that matters.
Not sure whether the thing under your sink is safe? Photograph the label and the bag together and send both to info@pazleather.com. Answering that question costs us two minutes and saves a hide.
Further reading
- Suede and nubuck care: why everything that feeds smooth leather ruins nap
- The leather care guide: condition twice a year, no more
- Leather stain first aid: what to do in the first five minutes
- How to soften stiff new leather, without wrecking it
- How to fix scratches on leather, by depth and finish
- Leather FAQ: can I use olive oil or coconut oil on leather?