Guide · 10 August 2026 · by Zafer
The art of leather restoration
People apologise when they bring us an old bag. “It’s probably ruined,” they say, holding it like a patient. Nine times out of ten it isn’t. Here is how we decide — and what we do next.
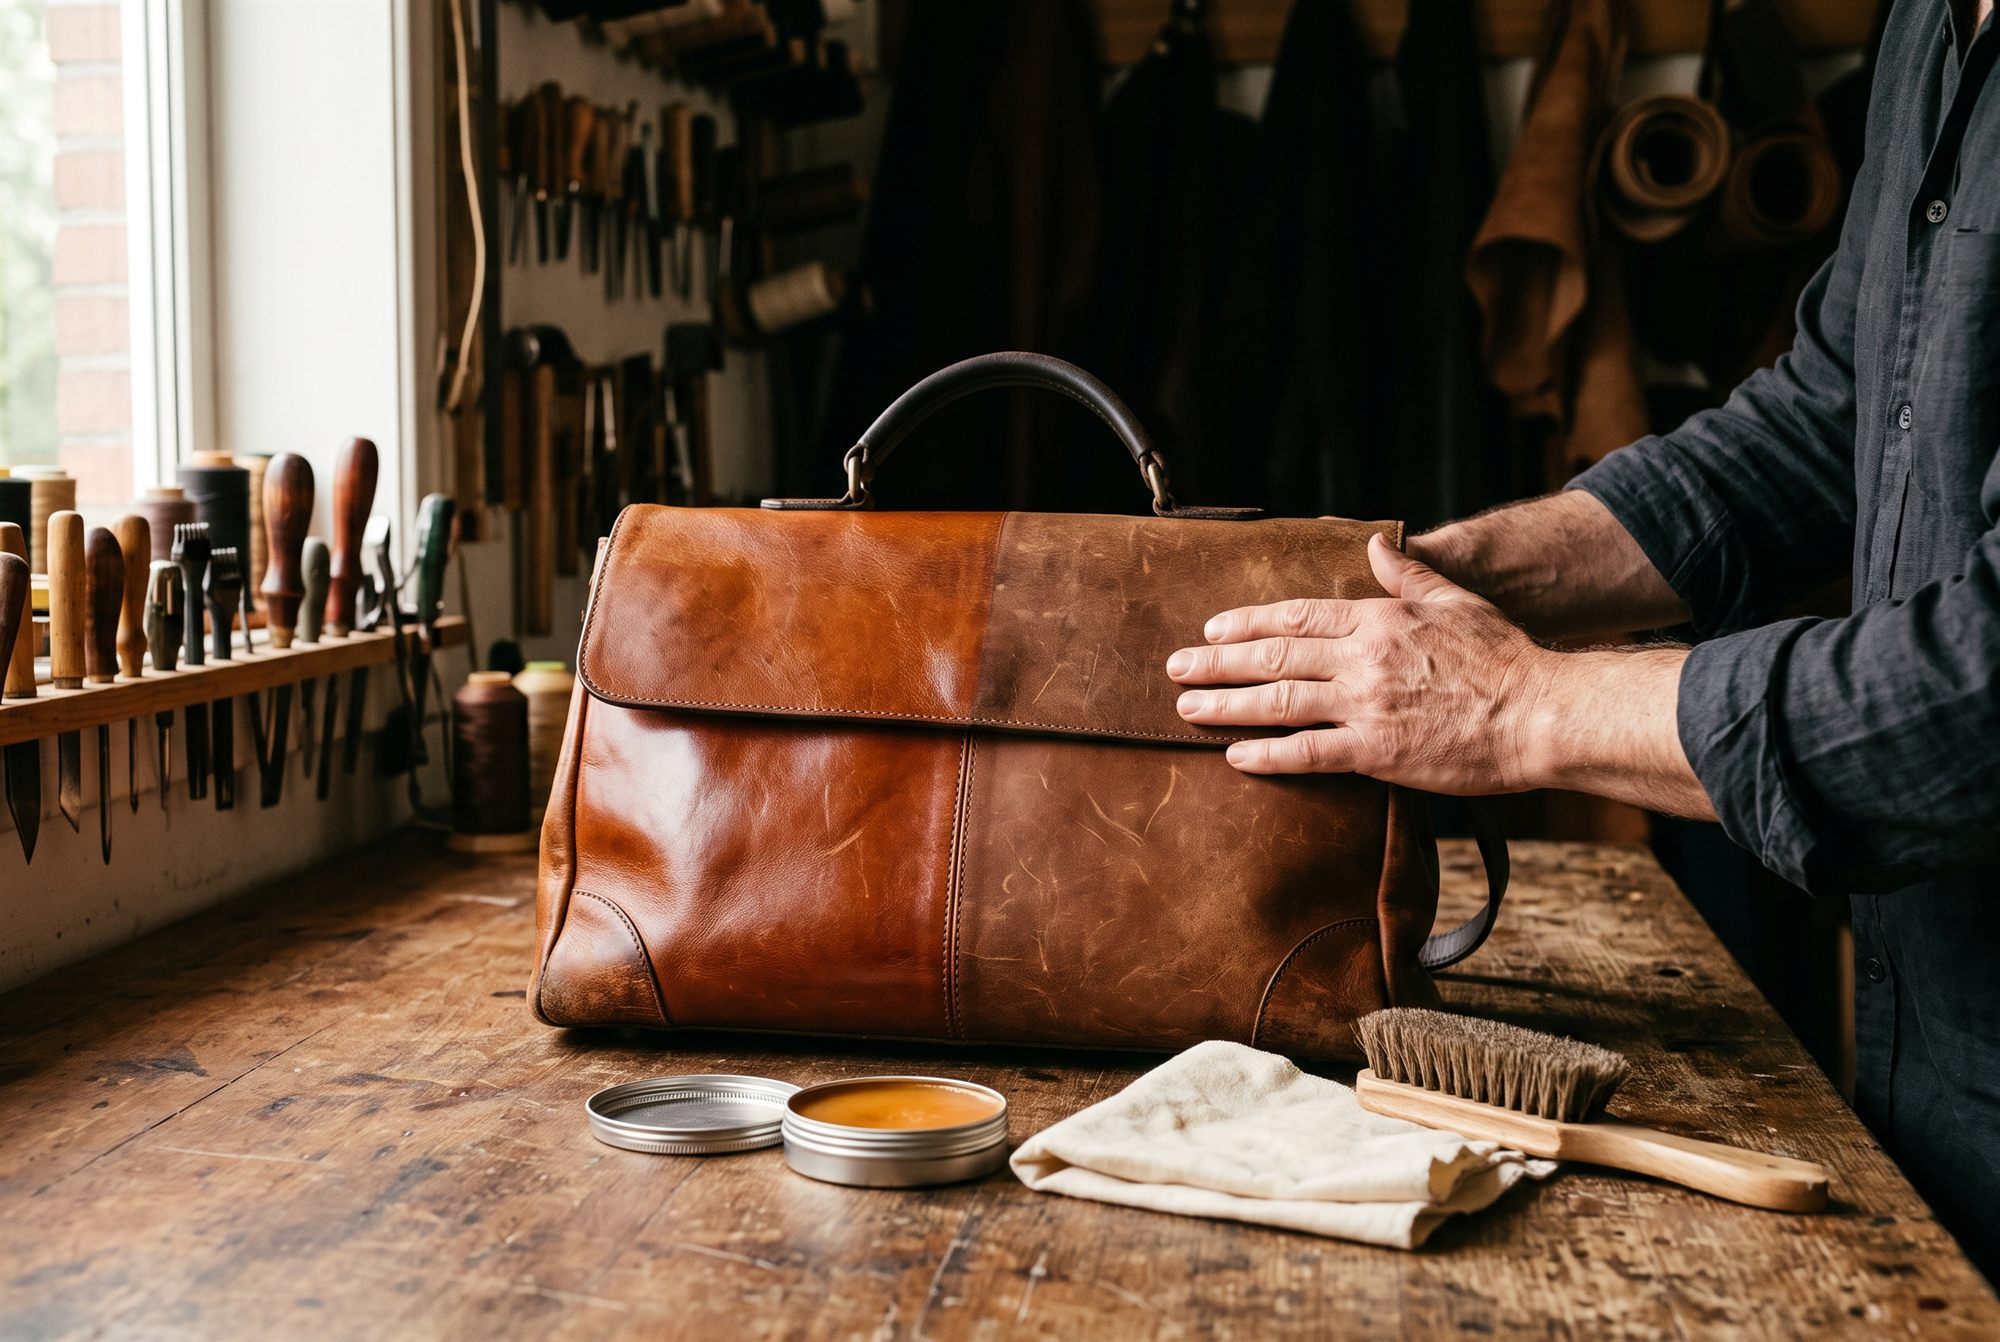
Restoration is the quietest job in the atelier and our favourite one. A new piece proves what we can make; an old piece proves what leather can survive. Most of what arrives “ruined” leaves a week later looking like it just needed a holiday — because most of the time, that’s exactly what happened.
Old leather is rarely dead. It’s usually just hungry.
First: is it damage, or is it patina?
Before touching anything, decide what you’re looking at. Darkened handles, softened corners, a deepening of colour where hands live — that’s patina, the record of use, and restoring it away is like sanding the initials out of an old school desk. Restoration targets something narrower: dryness, stains, scratches that bother you, and structural failures — a torn stitch, a chipped edge, a hinge of leather gone stiff. Keep the story; treat the wounds.
What can be saved — and what can’t
The single biggest factor isn’t the damage. It’s the grade of leather underneath it:
- Full-grain and top-grain, vegetable-tanned: almost everything short of fibres cracked all the way through can be revived. The material is skin, and skin responds to feeding.
- Coated “genuine” leather: limited. You can clean and condition it, but once the paint-like coating cracks, you’re maintaining a finish, not a hide.
- PU / bonded leather: nothing. Once it peels, it’s finished — there are no fibres to feed under the plastic.
You cannot feed plastic. Peeling isn’t a stage of PU’s life — it’s the last page.
Read the wound before you treat it
Every mark on leather sits at one of three depths, and the depth decides the treatment:
The restoration ladder
Match the state of the piece to the lowest rung that fixes it — never start higher than you need to:
The one-hour revival
For a sound but neglected piece — the bag from the back of the wardrobe — this is the exact session we run, and you can run it at a kitchen table:
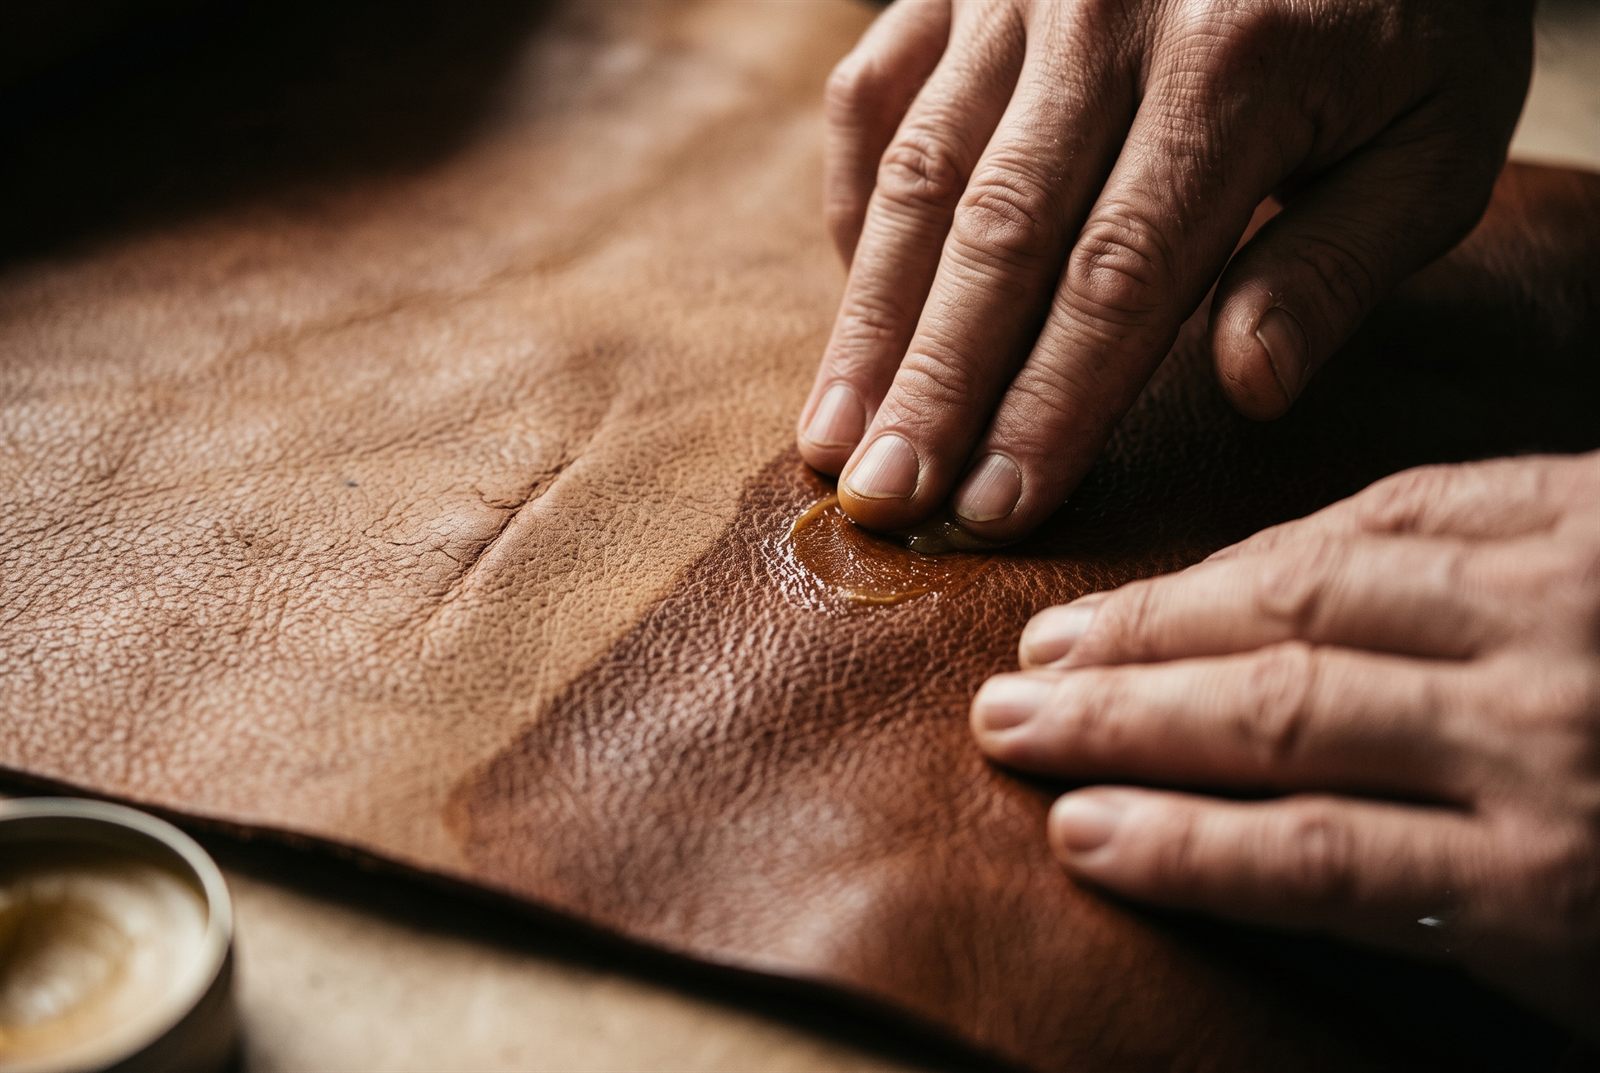
Three details make the difference between reviving a hide and drowning it. Empty it first and brush out the seams — grit under a cloth is sandpaper. Use saddle soap sparingly: it’s mildly alkaline, so a little cleans and a lot dries. And if the leather has been neglected for years, feed it in thin meals over three days rather than one heavy coat — a starving hide drinks unevenly, and a flooded one goes limp and dark.
The specific wounds
Water tide lines. Counter-intuitive but true: the fix for a water stain is more water. Wipe the entire panel evenly with a damp cloth so it dries as one piece instead of leaving a border, then dry slowly and condition. Never spot-treat a water mark — you’ll just move the tide line.
Ink. The one that punishes hesitation. Blot fresh ink immediately — never rub — and stop there. Alcohol and nail-polish remover lift ink by stripping the leather’s own finish and oils with it. On vegetable-tanned leather, set ink is a professional job or a permanent tattoo; sometimes the kindest option is to let it join the patina.
Mould. A storage problem wearing a stain costume. Take the piece outside, wipe with a 1:1 mix of white vinegar and water, let it dry completely in moving air (not sun), then condition — and fix the cause, which is almost always a plastic bag or a damp cupboard. Our care guide covers storage properly.
Dull brass. Solid brass never dies — it just gets shy. A dab of brass polish, or lemon juice with bicarbonate of soda, brings it back in minutes. Keep it off the leather, and remember: hardware that’s flaking rather than dulling is plated, and plating doesn’t come back.
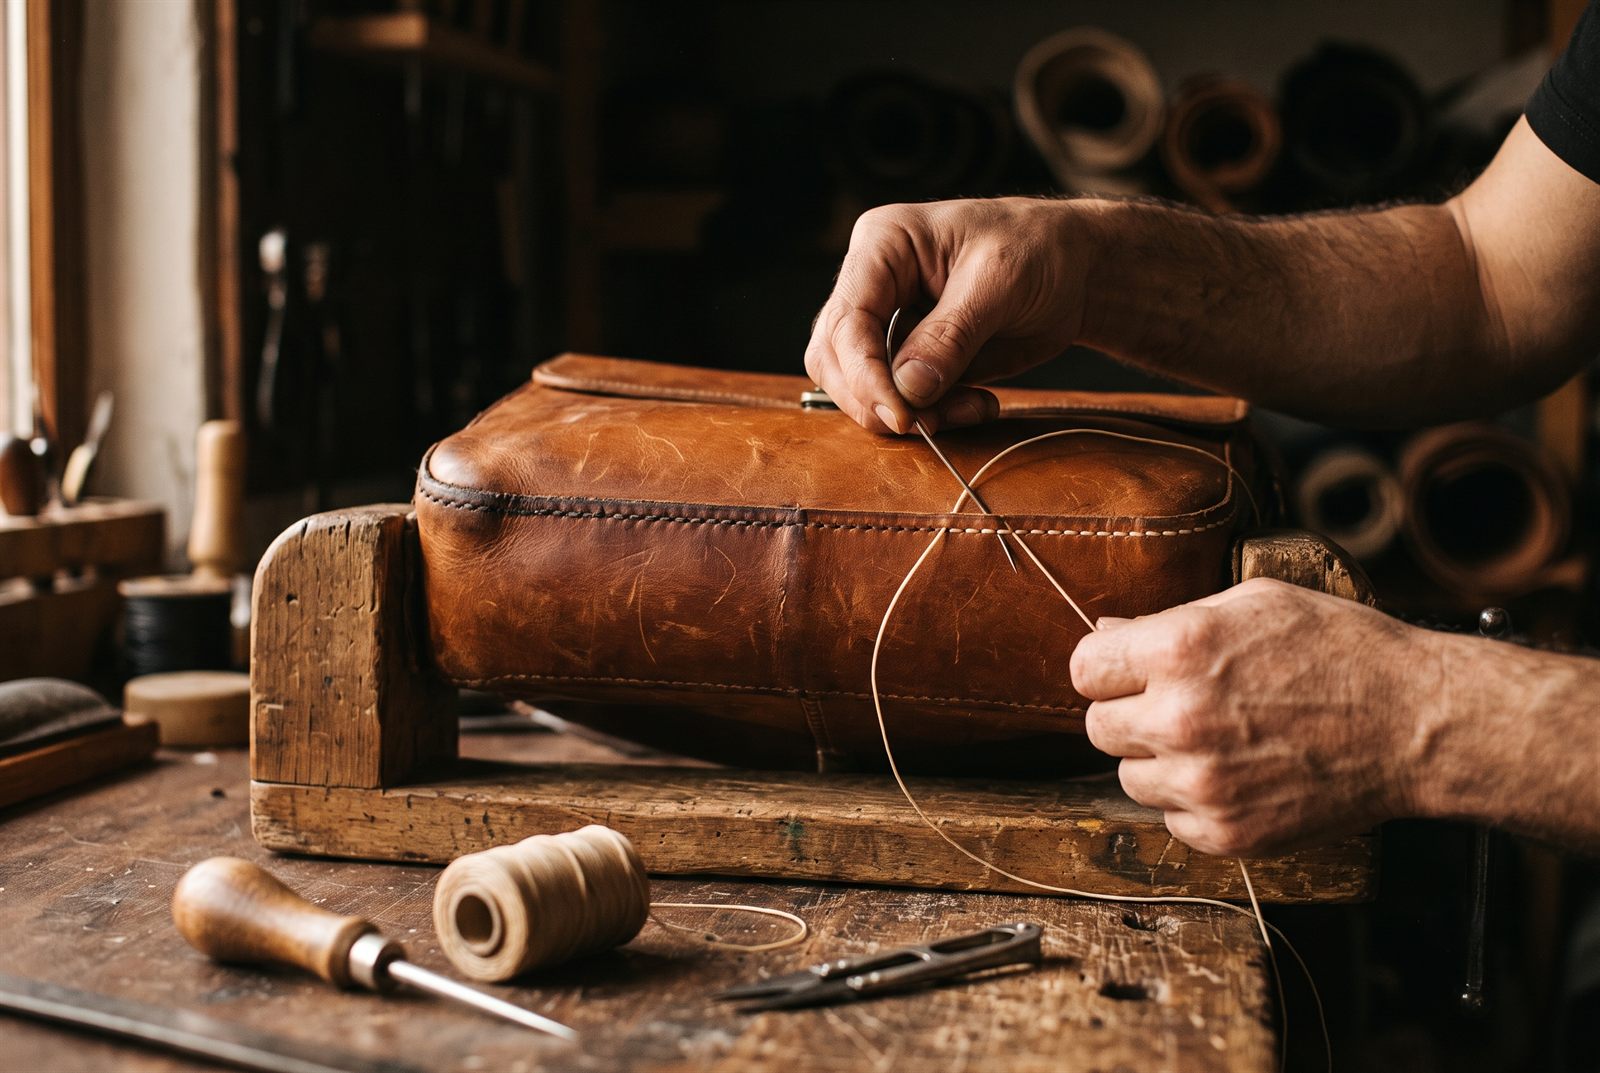
Broken stitching. This is where construction decides everything. A hand-sewn saddle stitch can be re-stitched from exactly where it failed, because every stitch is independently locked. A machine lock stitch ladders like a run in a stocking — the repair often means re-sewing the whole seam. Ask this question before you buy, not after it breaks.
Tired edges. A burnished edge is revived, not replaced: a touch of beeswax and a brisk rub with rough canvas re-melts it to a shine. Painted edges, once chipped, need stripping and repainting — bench work.
What never to touch leather
- Olive or coconut oil — kitchen oils go rancid inside the hide and resurface as dark spots
- Baby wipes and household cleaners — alkaline enough to eat the finish
- Acetone or alcohol — removes the stain, the colour and the leather’s future in one wipe
- Hair dryers and radiators — heat cooks fibres stiff, and stiff becomes cracked
- Silicone sprays — they seal the surface so the hide can never be fed again
When to hand it to a professional
Colour rebuilt across a whole panel, a replaced strap, re-lining, edges rebuilt from bare flesh — this is proper bench work: stripping the old finish, re-dyeing in thin passes, cutting and skiving a matching panel, stitching it in by hand. It is slower than replacing the bag and, on the right bag, dramatically better value: a modest restoration on a full-grain piece buys another decade or two of service. That maths only works on things built to be repaired in the first place — which is, quietly, the whole argument for buying them.
And when to let go
Three conditions end the conversation: dry rot (the surface powders and tears like paper — the fibres are gone), cracks through the full thickness, and peeling coatings on bonded or PU material. Even then, an ending isn’t always a funeral: a big bag with one ruined panel still holds a wealth of sound leather, and a maker can cut cardholders, key fobs or a belt out of it. We’ve turned a grandfather’s cracked briefcase into six wallets for six grandchildren. Nobody cried about the briefcase.
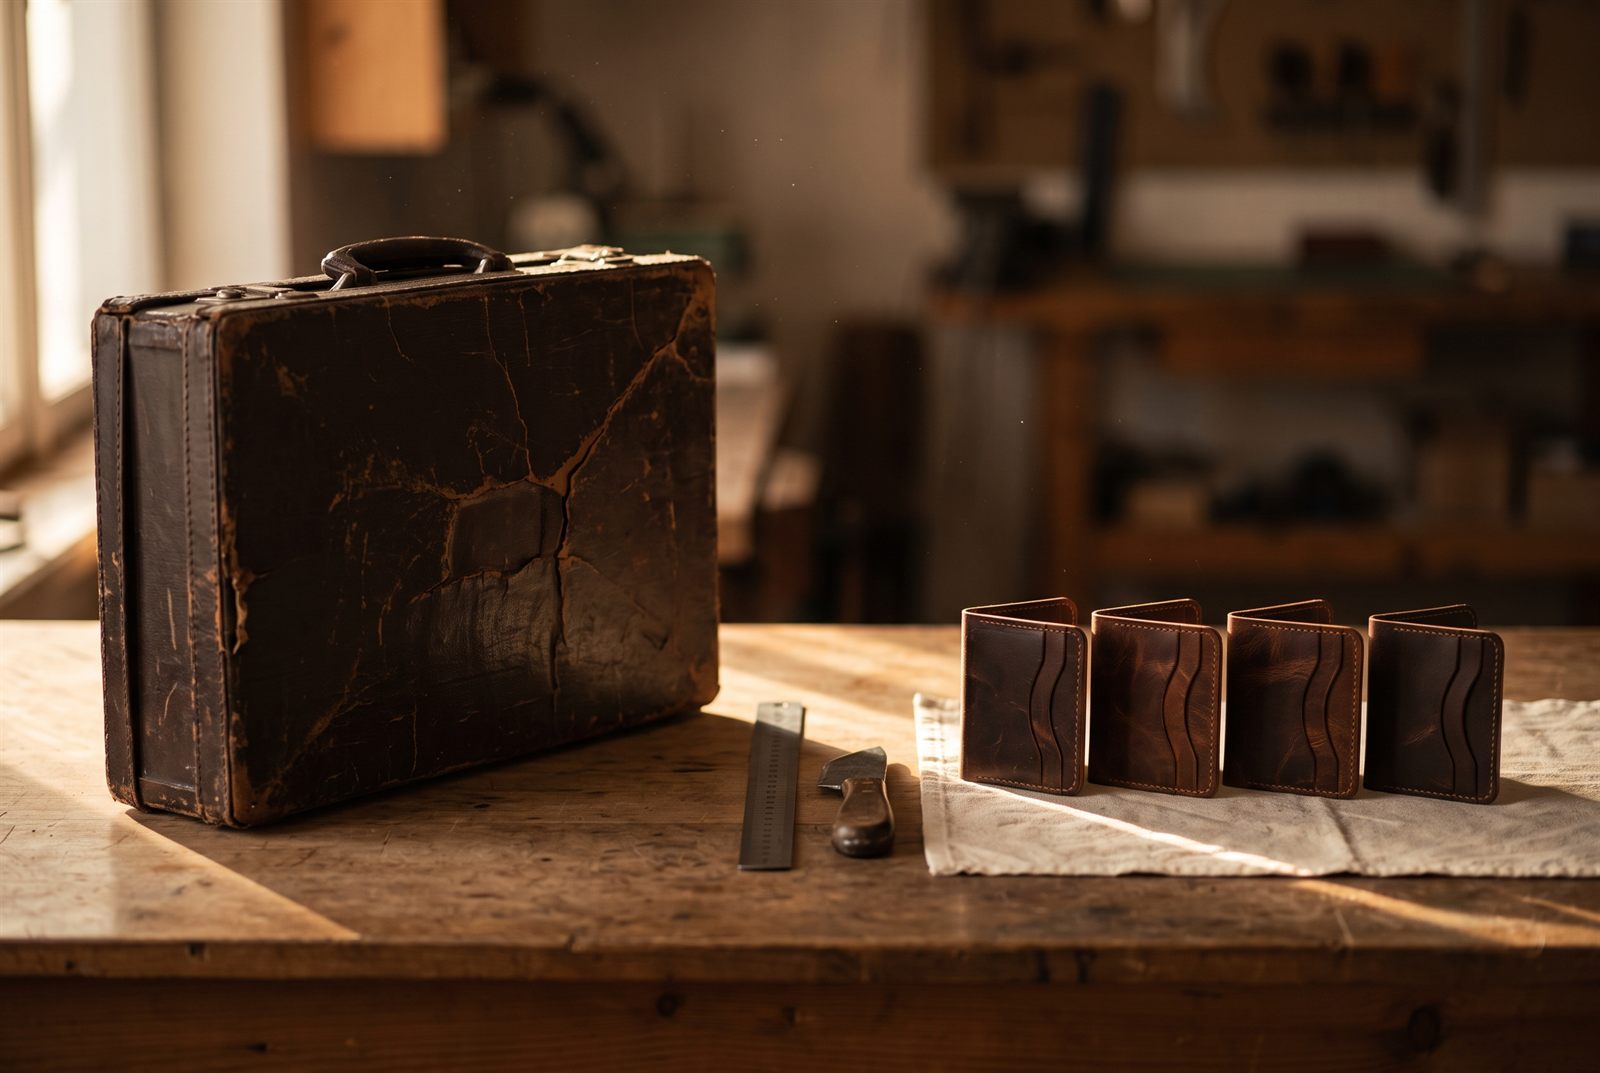
Restoration doesn’t make leather new again. It makes it yours again.
If you’re standing over an old piece wondering which rung of the ladder it’s on, photograph it in daylight and send it to info@pazleather.com. Leather advice is free, always — even for pieces we didn’t make. Especially for those.
Further reading
- Bag hardware: why the metal fails long before the leather
- Why is my leather peeling? Real leather doesn’t — coatings do
- How to fix scratches on leather: a maker’s guide by depth and finish
- How to care for handmade leather: the complete guide
- How long does a leather bag last? The honest numbers
- Patina: the story your leather writes about you
- The Leather FAQ — 35 buyer questions answered