Guide · 3 August 2026 · by Pınar
How to buy leather accessories: a maker’s 60-second inspection
Before any piece leaves our bench, it passes one final inspection. Here is that exact routine — so you can run it in any shop, on any bag, wallet or belt, in about a minute.
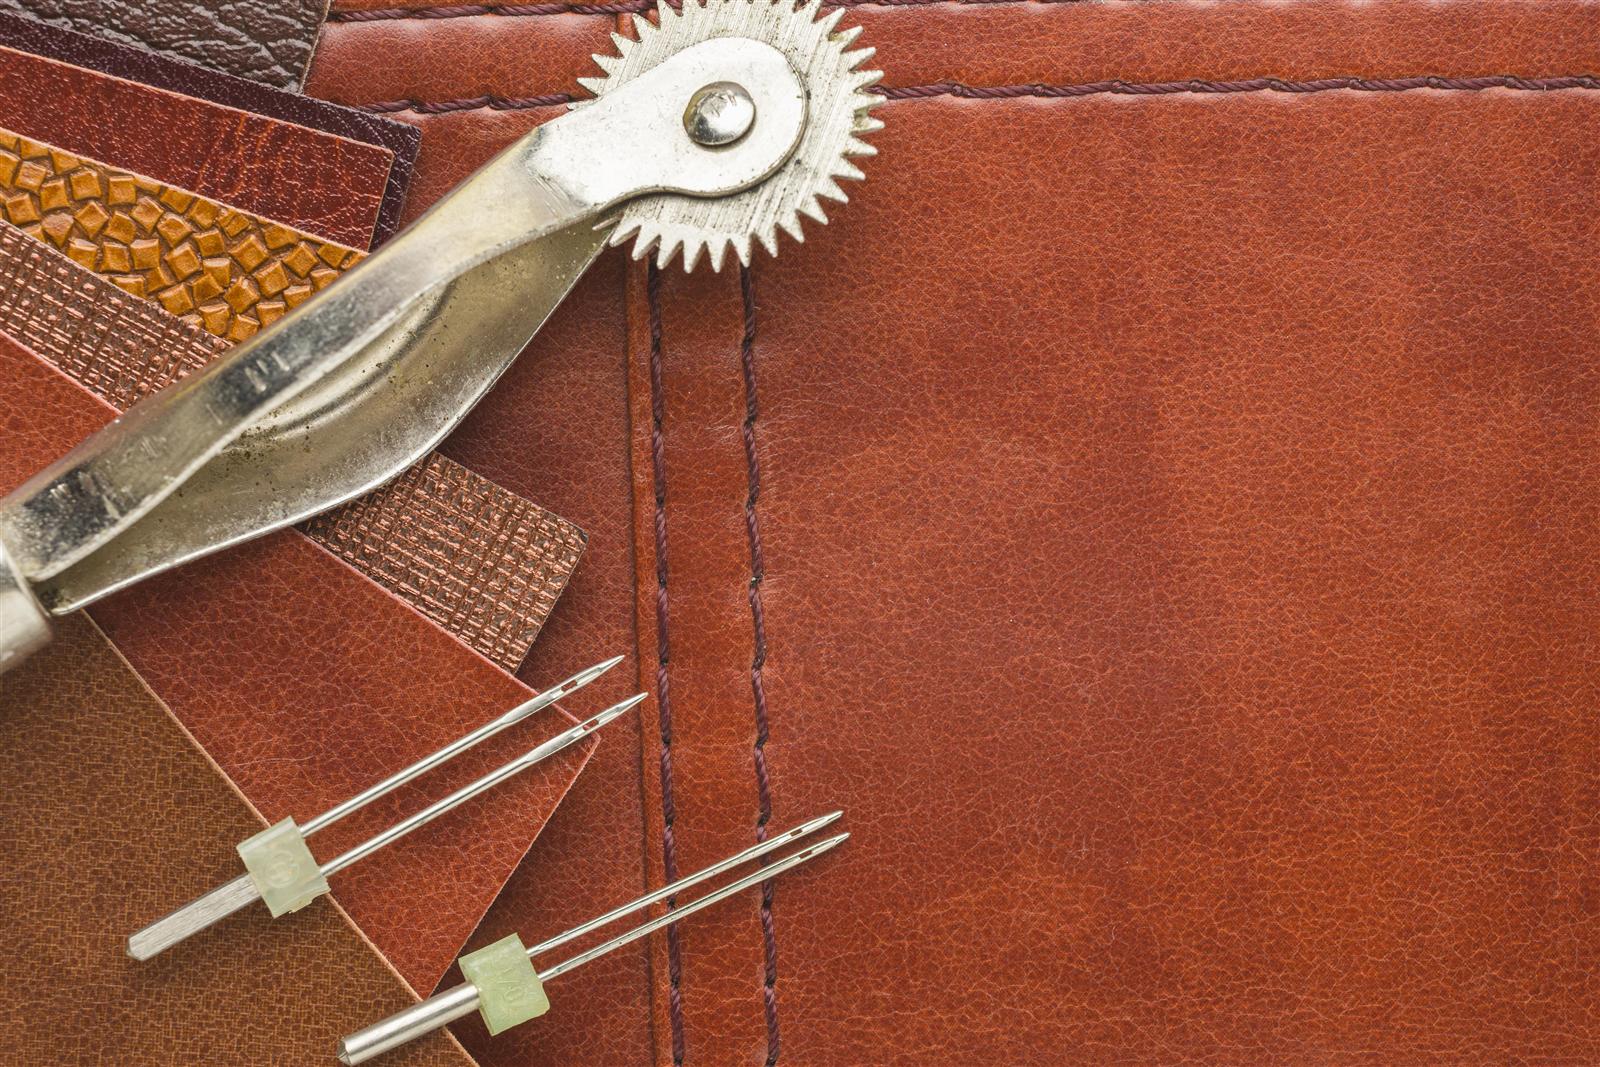
Buying leather well isn’t about knowing brands — it’s about knowing where quality hides and where corners get cut. Factories are excellent at making the visible parts look right; the truth lives in six places most buyers never check. This is the inspection we give every Paz piece before it ships, translated for the shop floor.
Rule zero: read the label before touching anything
The grade decides everything downstream. Full-grain is the buy; top-grain is acceptable for formal uniformity; anything proudly labelled just “genuine leather” is the lowest real grade wearing a reassuring word. If the listing doesn’t name the grade at all, assume the worst — makers who use good leather never forget to mention it. (Full grade guide here.)
The 60-second inspection
- Handle joins & stress points. Lift the bag by one handle and watch the join. It should be stitched through reinforcement — a rivet alone through thin leather is a countdown.
- Stitching. Even spacing, slight slant (the mark of saddle stitching), around 6–8 stitches per inch. Perfectly vertical, machine-dense rows are fine — until one loop breaks.
- Grain and smell. Pores should be irregular; repeated identical texture means stamped coating. Real vegetable-tanned leather smells woody and warm — plastic smell means plastic content.
- Hardware. Weight is honesty: solid brass feels dense and warms in your hand. Carry a fridge magnet — it should not stick to real brass. Sticking means plated steel or zinc, the part that fails in years 5–8.
- Edges. Look where panels meet: burnished (glassy, polished fibre) or cleanly painted edges mean hours of care. Raw, glue-shiny or fraying edges mean the whole build was rushed.
- Inside and underneath. Turn it over, look inside. Finished interior seams, a structured base, feet on a tote — the parts you can’t photograph are where honest makers spend money and factories don’t.
Six red flags — walk away
- The proudest claim is “100% genuine leather” — a warning dressed as a promise.
- Perfectly uniform grain across the whole piece — nature doesn’t repeat.
- Chemical or vinyl smell — the nose is the one instrument that’s never fooled.
- Suspiciously light weight — full-grain and solid hardware are dense; featherweight “leather” rarely is.
- No answer on repairs — if a seller can’t say who would fix a strap, the product is designed to be replaced.
- Grade missing from the listing — good leather is always named; silence is a grade too.
Factories make the photograph look right. Makers make the underside look right. Always inspect the underside.
Accessory-specific checks
Wallets: open it flat — the fold should be skived thin so it closes without fighting you; count card slots against actual stitch lines, not glued slips. Belts: ask for full-grain, one-piece construction; “100% leather” belts are often two thin splits glued around a filler — they crack at the buckle within a year or two. Bags: everything above, plus the zipper — metal teeth, smooth double pass; the zipper is statistically the first thing to fail on any bag. Small goods (cases, charms, holders): these are where makers show off — look for edge finishing as good as the main panels; it’s the cheapest place for a factory to cut and the easiest place to catch them.
Then ask two questions
Whatever passed the inspection, finish with the seller: “What grade and tannage is this?” and “When something fails, can it be repaired?” A maker answers both in one breath, happily. Hesitation is data. (The full list of seller questions — and 33 more buyer answers — is in our Leather FAQ.)
None of this requires expertise — just sixty seconds of looking where the light usually doesn’t. Buy less, inspect more, and the things you own will start outlasting the things you scroll past.
Further reading
- Bag hardware: why the metal fails long before the leather
- Leather thickness: what an ounce means, and why thicker is not better
- Burnished vs painted edges: why makers read the edge first
- How long does a leather bag last? The honest numbers
- Vegan leather vs. real leather: an honest answer from a leather maker
- Full-grain, top-grain, “genuine”: what leather labels really mean