Guide · 10 November 2026 · by Zafer
The leather tool roll: why a roll beats a box
A tool roll is not a soft box. It is a mechanism for keeping steel away from steel, and almost every dimension on a good one — pocket depth, the spacing between pockets, the length of the flap — follows from that single job. Here is how one is built, and the eight things worth checking before you buy.
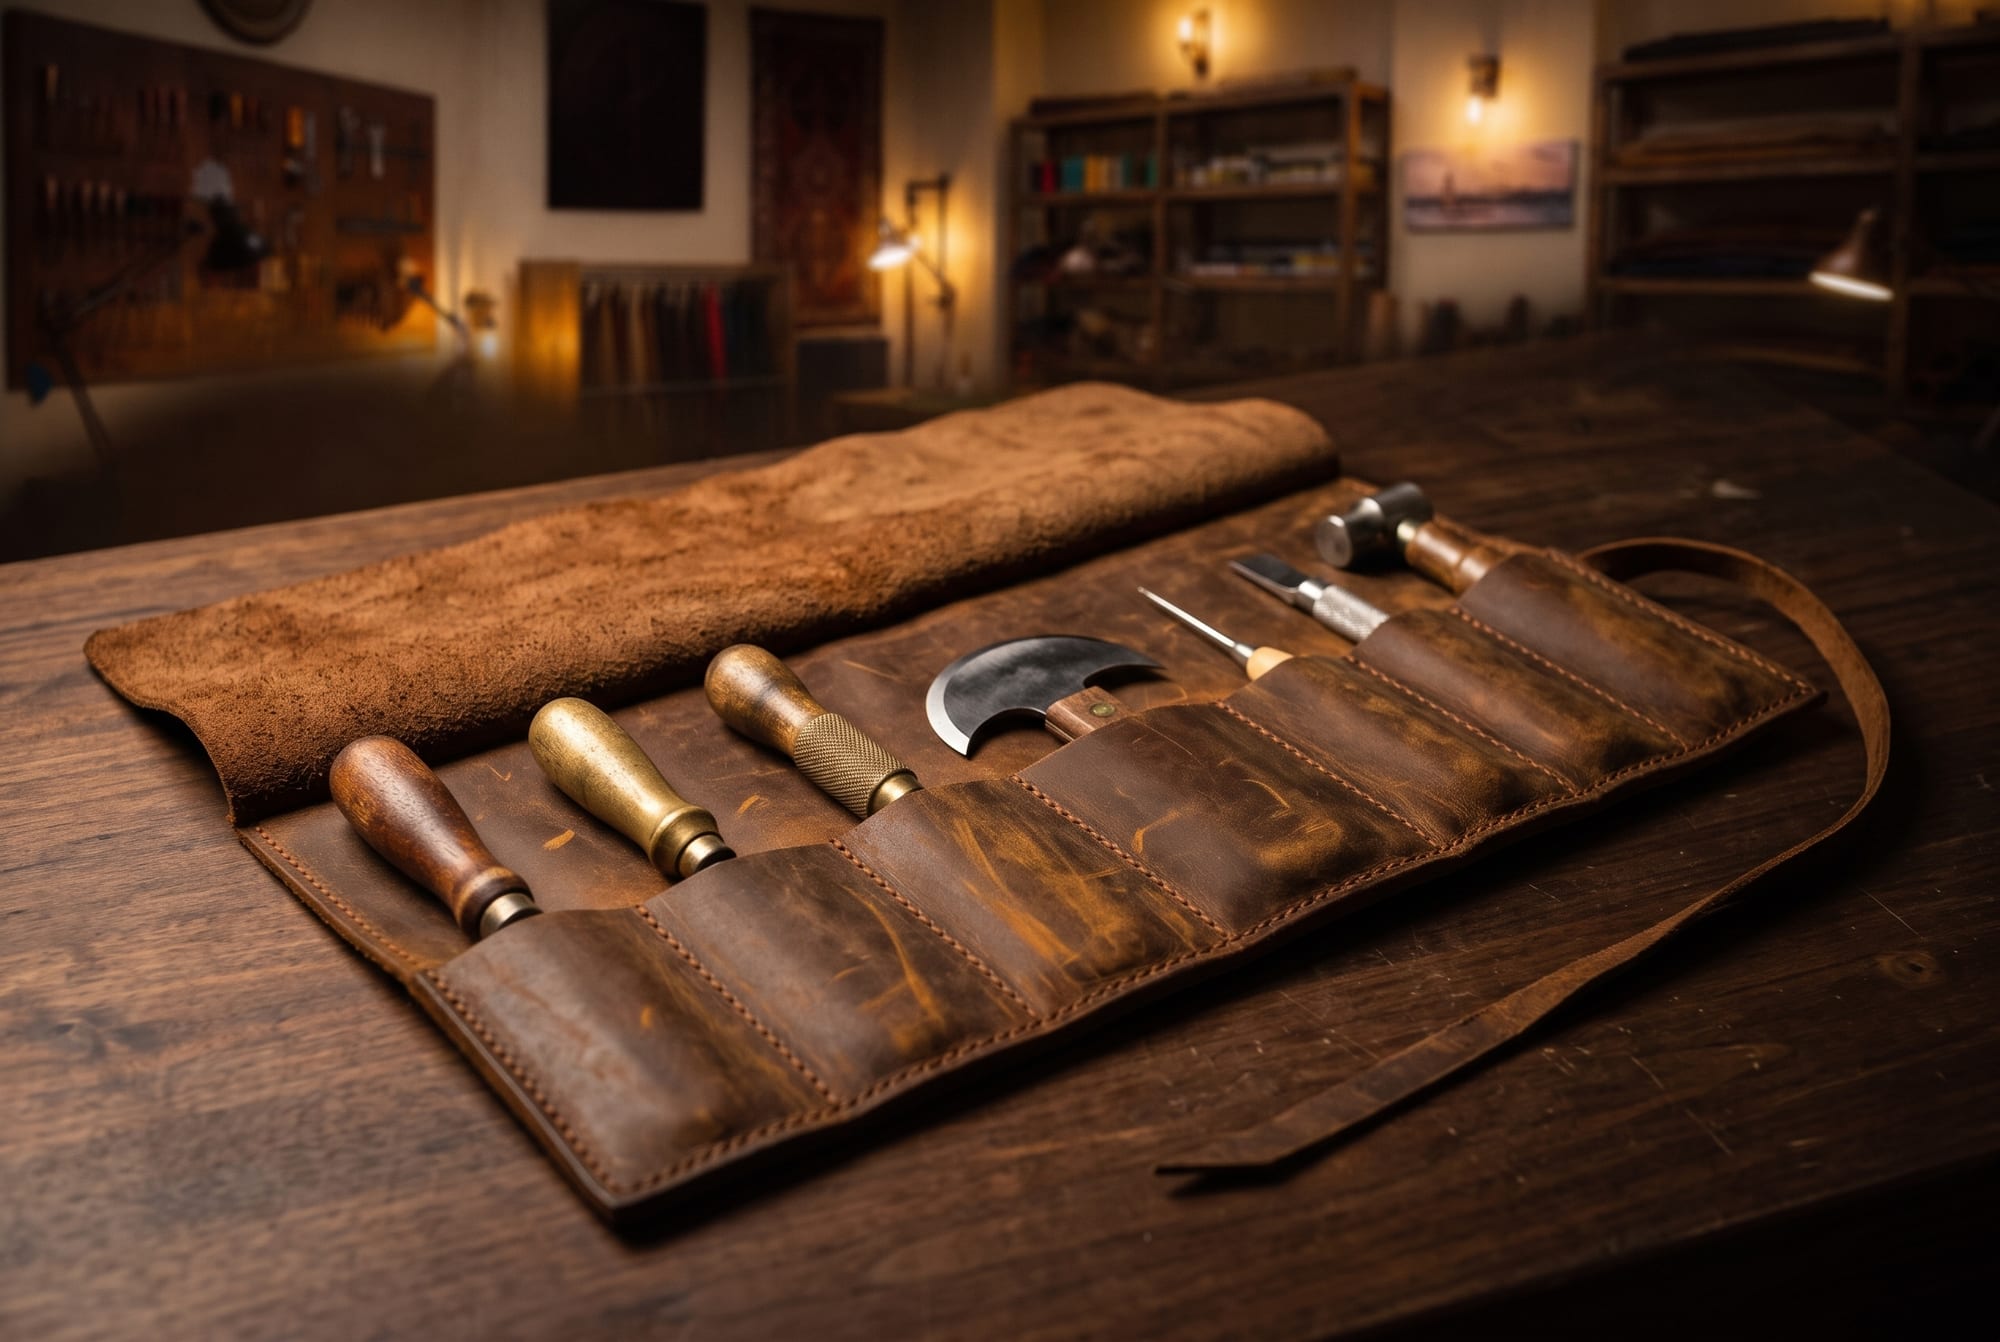
The short answer: a tool roll protects edges because rolling it puts a layer of leather between every pair of steel faces, so no two tools can ever touch. That is the whole principle. It means the pockets have to be deep enough that the tool sits below the fold, spaced wider towards the outside end so tools do not stack on each other as the roll thickens, and covered by a flap long enough to clear the handles. Unlined vegetable-tanned or waxed hide of about 2–3 mm is the right material, a tie closes better than a snap, and the tools must go in dry.
I have thrown away two chisels in fifteen years and neither of them was worn out. Both were ruined in transit, in a canvas bag, by a second chisel. A cutting edge is a few microns of geometry; it does not care how carefully you sharpened it if it spends an hour knocking against another piece of hardened steel in the boot of a car.
That is the problem a tool roll solves, and it solves it with geometry rather than padding. Once you see the mechanism, every other feature on the object stops being a style choice.
The mechanism: leather between every pair of faces
Lay tools in a box, however nicely, and they share one volume. Any movement of the box is a movement of the tools relative to each other, and the only question is which pair meets first.
Roll them up in a leather sheet and something different happens. Each tool sits in its own pocket, and the act of rolling wraps a complete layer of hide around that pocket before the next tool begins. The tools end up on separate turns of a spiral, and between any two of them there is leather. They cannot reach each other, no matter how the bundle is handled.
A box stops tools leaving. A roll stops them meeting. Those are different jobs, and only the second one keeps an edge.
The cost is real and worth stating: a roll is slow to get into. You unroll the whole thing to reach one tool, which is why rolls belong to kits that travel and boxes belong to kits that live on a bench. If your chisels never leave the workshop, a rack on the wall is a better object than anything described below.
Anatomy: the five dimensions that decide whether it works
Tool rolls look alike flat. They differ in five measurements, and all five are invisible in a photograph.
Of those five, the one almost nobody gets right is the third. A roll is a spiral, and each turn has a larger circumference than the one inside it — by roughly six millimetres of length for every millimetre the radius grows. If the pockets are evenly spaced, the tools towards the outside end up sitting directly on top of the tools underneath them, and you get exactly the steel-on-steel contact the roll exists to prevent. Pockets that step wider as they go outwards keep each tool in its own clear arc.
Which leather, and how thick
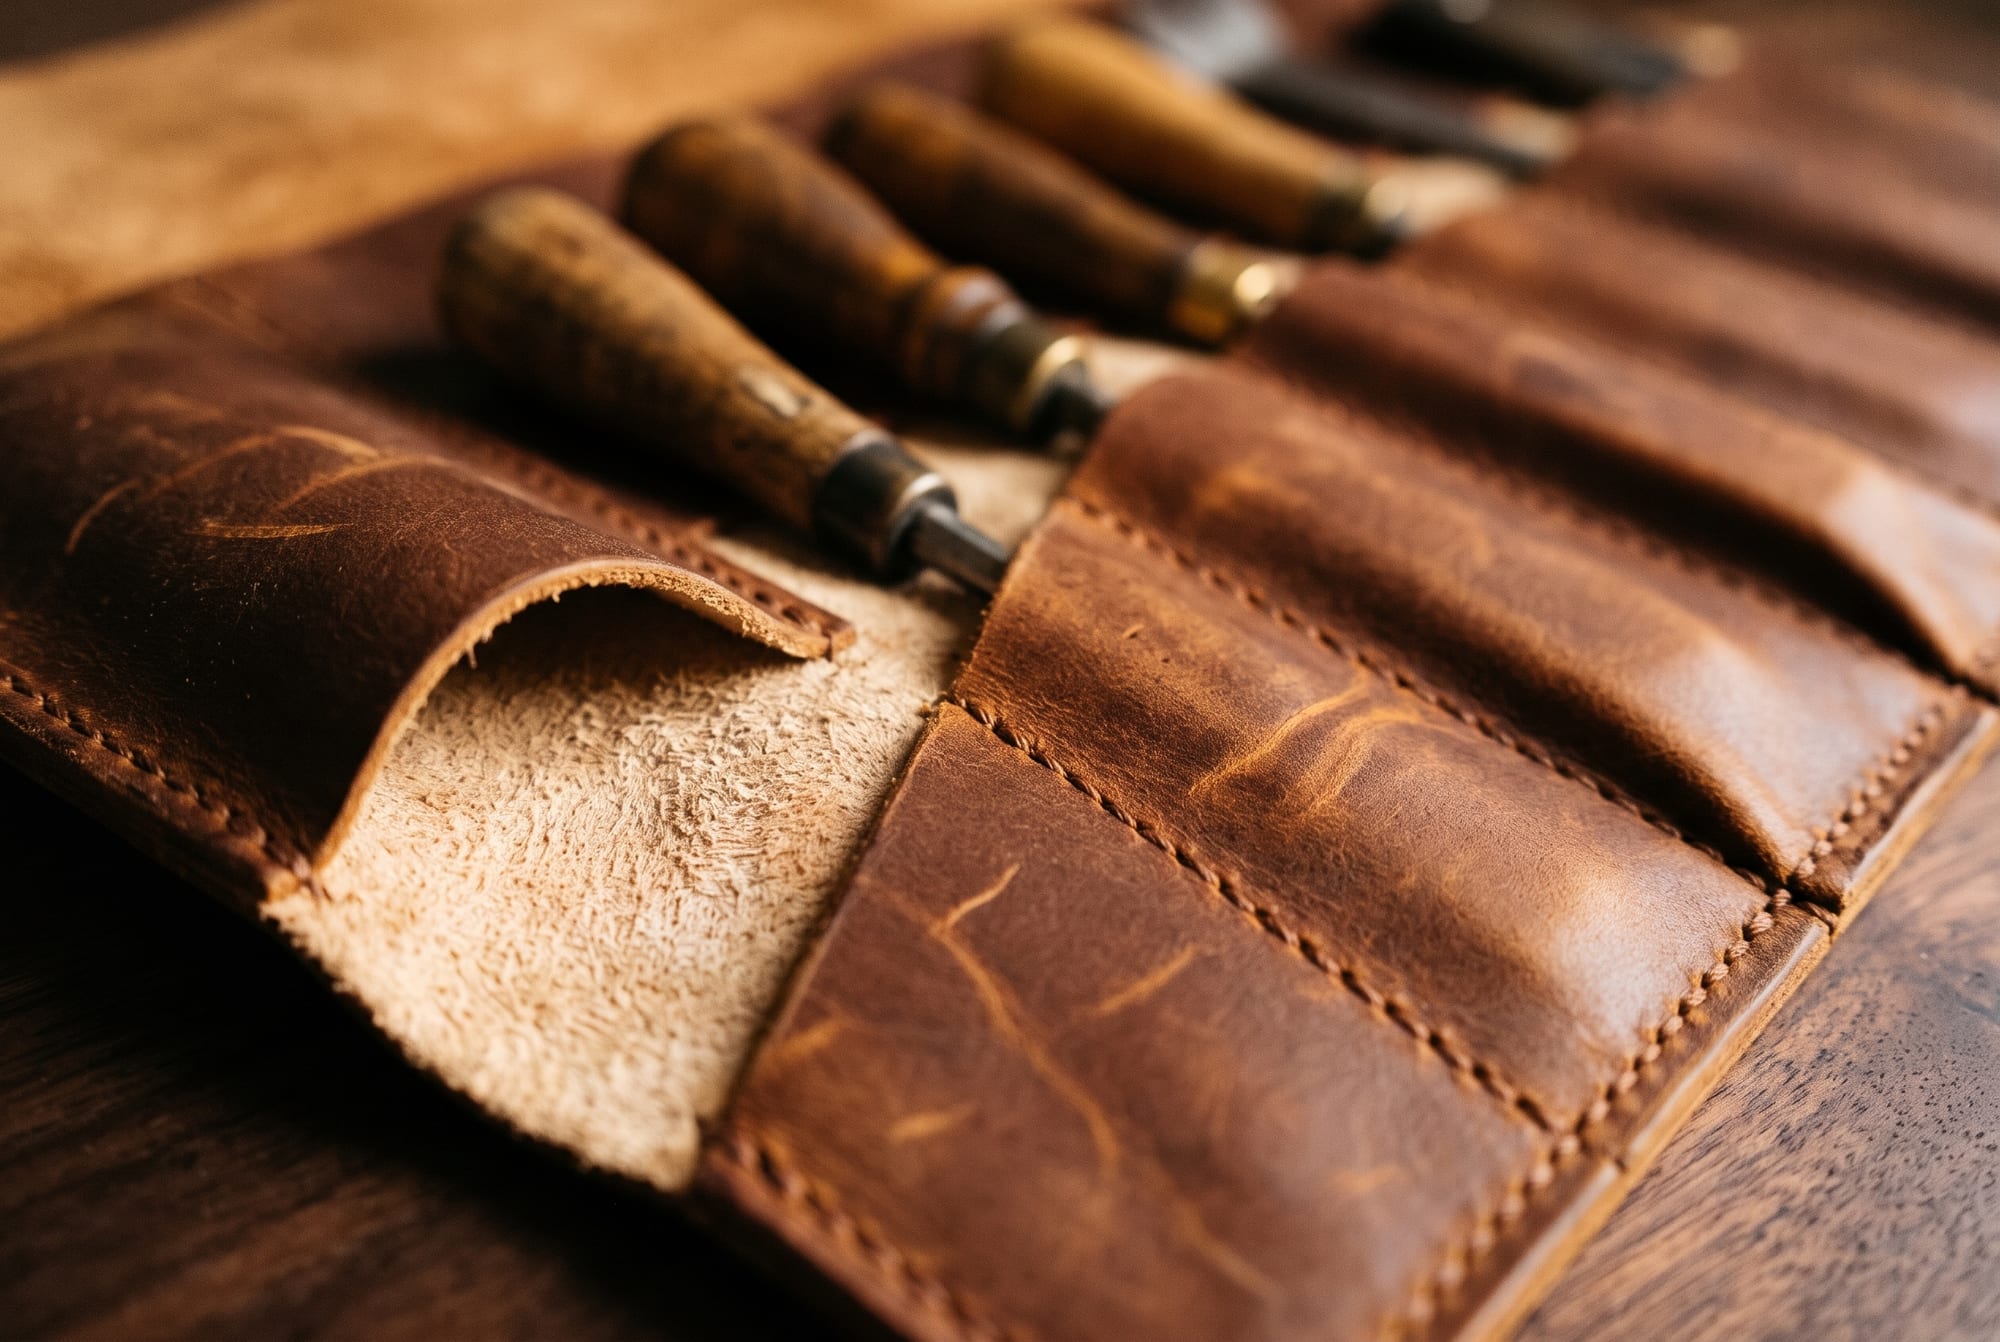
A tool roll has an unusual brief for a leather object. It gets dragged across benches, dropped, stood in sawdust, and handled with dirty hands, and nobody will ever baby it. It also has to roll tightly without the pockets gaping.
- About 2–3 mm for the body. This is the band where the roll holds its pockets open but still rolls to a tight bundle. Below 2 mm the pockets go slack and the roll flops; above 3 mm the outer turns fight you and the bundle ends up the size of a loaf. The reasoning behind those figures is in the piece on thickness and what an ounce means.
- Unlined. This is one of the few objects where I would argue against a lining outright. An unlined roll breathes, dries out after a damp day, and shows you the flesh side so you can see whether it is damp. A lining traps moisture against steel, which is the one thing you are trying to avoid. The general trade-offs are in lined versus unlined; this object sits firmly at the unlined end.
- Waxed pull-up, if you have the choice. A tool roll collects scratches from the first week. A waxed hide such as crazy horse is the rare material that improves under that treatment, because the scratch moves wax rather than removing colour, and a thumb rubbed over it mostly closes the mark. It is the reason our own tool rolls are cut from it, and the reason they are the pieces I most enjoy seeing again after a few years.
- Saddle-stitched at the pocket divisions. Each division is a short seam that takes a sideways load every time a tool goes in. A saddle-stitched seam does not unravel when one stitch is cut, which on a roll full of edges is not a theoretical advantage.
The rust problem, stated plainly
Here is the awkward part, and any honest guide to tool rolls has to say it. Vegetable-tanned leather is mildly acidic, and it holds moisture. Steel kept pressed against damp acidic leather will corrode faster than steel left on a shelf.
I have written the chemistry out properly in the piece on leather and steel, including why chrome-tanned leather is not the escape route people assume and why the shape of a stain tells you where the water came from. I will not repeat it here. What matters for this object is the short list of habits that follow from it:
- Tools go in dry. Not nearly dry. A blade wiped on a trouser leg after a damp job is the single commonest cause of a rusted roll.
- Oil the steel, not the leather. A film of light machine oil or camellia oil on the blade is the real protection. Oiling the leather to protect the tools does the opposite: a heavily fed hide is a wet hide.
- Unroll it for storage. Rolled is for carrying. A kit that is going to sit for a month is better flat and open, or rolled loosely, where air can move. Not in a plastic box, for the reasons set out in how to store leather.
- A garage or a cellar is the wrong room. Both run damper than the rest of a house, and a roll is a sponge with steel inside it.
A tool roll is the right way to carry edges and the wrong way to store them for a season. It is a travelling object, and treating it as a cupboard is how good rolls end up with orange shadows inside the pockets.
What goes in a roll, and what does not
Not every tool belongs in one, and a roll bought for the wrong kit disappoints for reasons that have nothing to do with how it was made.
- Ideal: chisels, pricking irons, round knives, awls, edge bevellers, creasers, files, carving gouges. Anything slim, straight, hard and ruined by contact.
- Fine: screwdrivers, pliers, small wrenches, brushes with stiff bristles, pens and brushes for an artist’s kit. These do not need the protection but they travel well in it.
- Badly suited: anything with a wide head that stops the roll closing — a mallet, a stitching clam, a large hammer. One such tool deforms the whole bundle and puts a permanent ridge in the leather.
- Needs a different pocket: soft-bristled brushes, which crush, and anything with a delicate tip that should not be pushed against a seam at the bottom of a pocket. A pocket with a little slack at the base solves this, if it exists.
Eight checks before you buy one
- Load it with your own tools, or ask for the pocket widths. Pocket counts in listings are meaningless; a roll with twelve narrow pockets is useless for six chunky chisels.
- Measure the depth against your shortest tool. Two thirds in, not a third.
- Look at the spacing. Do the pockets widen towards the outer end? If every division is identical, the maker did not account for rolling.
- Check the flap length with the roll full, not empty. This is where photographs mislead most.
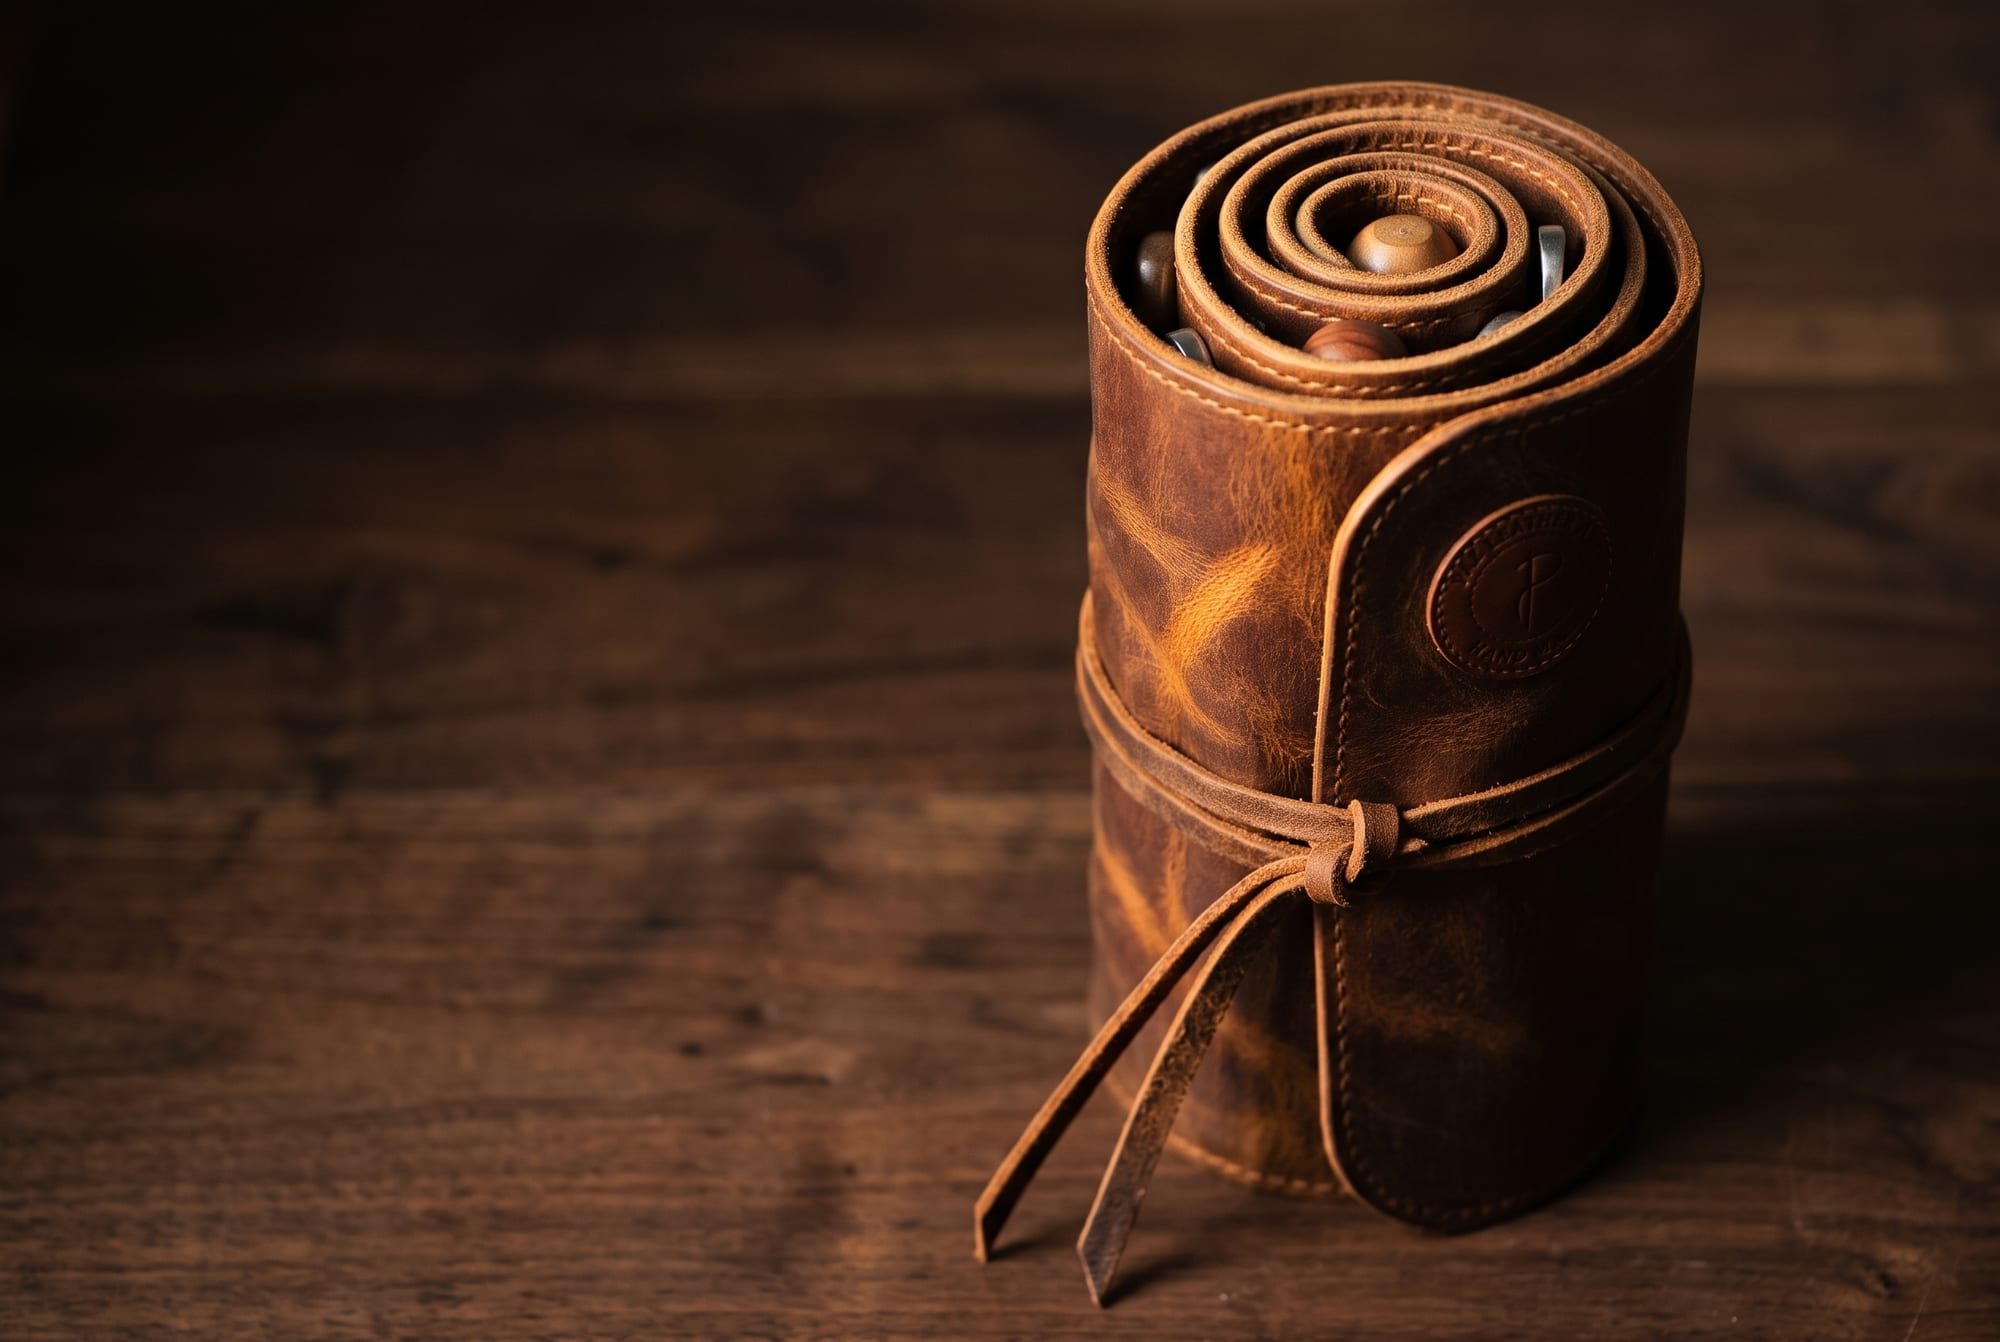
- Roll it, tie it, stand it on end, shake it. Silence is the pass mark.
- Find the flesh side. You should be able to see it. If the inside is lined with fabric or a bonded sheet, you have lost the ability to tell whether it is damp.
- Look at the pocket seams, not the outside edge. The divisions do the work; a beautiful burnished outer edge on top of machine-stitched divisions is the wrong priority.
- Prefer a tie, and prefer it long. Long enough to go round twice means it still closes properly on a half-empty roll, and gives you something to hang it from.
What we make, and who it suits
Our tool rolls are cut from crazy horse or calf hide, unlined, saddle-stitched at every division, with graduated pockets and a single long tie. They were originally made for our own bench, which is the only reason they have the proportions they do; the first version had evenly spaced pockets and taught me the spiral lesson the hard way.
They go to leatherworkers, but more of them go to woodworkers, barbers, tattooists, chefs and watchmakers, and a steady number go to people who simply wanted somewhere for a set of good pens and brushes. The object does not care what the steel is for. If you want one sized to a specific kit, send a photograph of the tools laid out side by side with a tape measure next to them to info@pazleather.com, and we can draw the pocket widths from the picture. The same goes through the custom order form.
And if the kit in question is going to a workshop that already has crazy horse in it, the care guide for that hide covers the one maintenance question people ask about tool rolls: no, you do not need to re-wax it, and yes, the scratches are supposed to be there.
Quick answers
- Does a tool roll rust tools? Not by itself. Damp does. Dry tools in an unlined roll, stored in a room you would sit in, are fine for years.
- Leather or canvas? Canvas is lighter and washable; leather holds pocket shape far better, which is what keeps tools apart, and it does not fray at the pocket mouths. For edged tools I would take leather every time.
- How many pockets? As many as your tools, plus one. Not more — empty pockets collapse and let their neighbours lean.
- Can it be washed? No. Brush it out, wipe with a barely damp cloth, let it dry away from heat.
- Is a roll good for kitchen knives? Yes, with the same caveat doubled: knives must be bone dry, and the roll should be unrolled and aired after a service, not left bundled.
Further reading
- Leather and steel: why tools rust in a roll, and what to do about it
- What is Crazy Horse leather? Meet the hide that scars on purpose
- Leather thickness: what an ounce means, and why thicker is not better
- How to store leather: why plastic is the villain
- Lined or unlined leather: the three honest jobs a lining does
- Saddle stitch vs machine stitch: why one seam outlives the other