Guide · 7 October 2026 · by Zafer
How to clean leather: the step everyone skips before conditioning
We have written a guide to conditioning, a guide to stains, a guide to storage and a guide to what not to put on a hide. We have never written one about cleaning — and that turns out to be the gap that causes the most quiet damage, because conditioner put onto a dirty piece does not clean it. It dissolves the dirt and takes it inside.
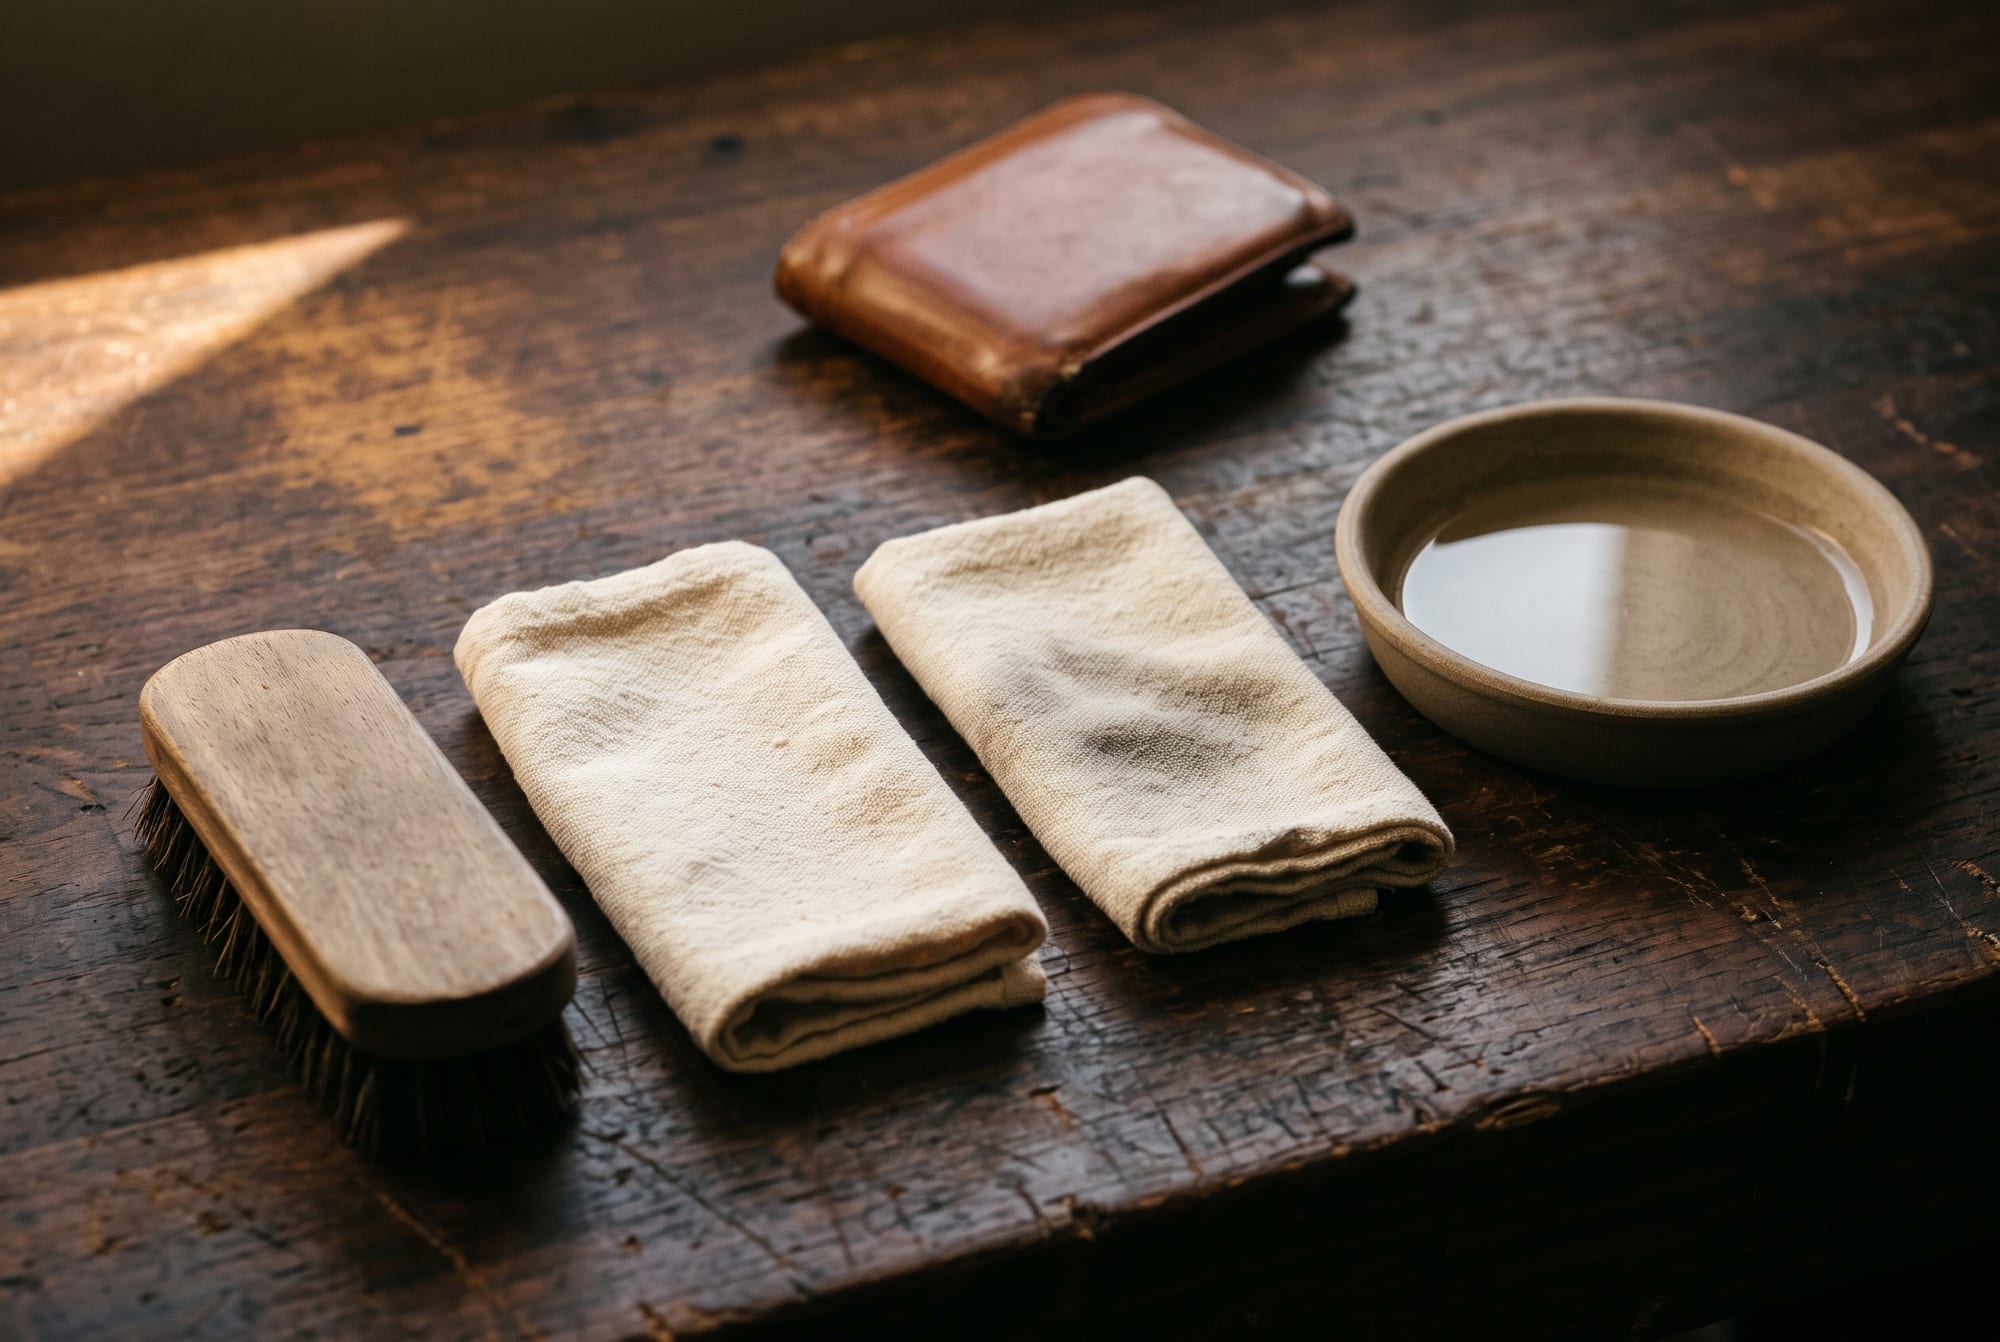
Take a two-year-old wallet with a dark, slightly shiny halo around the thumb corner, and the question that always follows: which conditioner will fix it? It is a fair question and the answer is none of them, because that halo is not dryness. It is a deposit, and rubbing conditioner into it does roughly what rubbing butter into a greasy worktop does.
That is why this article exists. Look at our Journal and you will find a conditioning guide, a stain protocol, a storage guide and a long list of what to keep away from a hide. Not one of them is about cleaning. We skipped it, in print and at the bench, for the same reason most people do: it sounds like the boring part.
It is not the boring part. It is the part that decides whether everything you do afterwards helps.
Conditioner is not a cleaner, and the difference is physical
A conditioner is an oil-and-wax system with a carrier, designed to get past the grain and sit between the fibre bundles. That is its whole purpose: to penetrate. It is very good at it.
Now consider what it meets on the way in. The film on a well-used handle is mostly sebum — the oil your own skin produces — thickened by oxidation and loaded with whatever dust stuck to it. Sebum is an oil. Conditioner is an oil. Put them together and they do not fight; they mix. And then the carrier takes the mixture through the grain exactly as designed.
You are not asking a solvent to lift a stain. You are asking an oil to remove an oil, and then helping it carry the result inwards. Conditioning a dirty piece of leather is the most reliable way to make the dirt permanent.
This is also why the result feels like a success at first. The surface darkens, evens out, loses its patchiness — which is precisely what every bad leather tip on the internet has in common. Darkening reads as nourishment. What has actually happened is that a grey-brown film has been made translucent and pushed below the surface, where no cloth will ever reach it again.
What is actually on there
Two completely different things, needing opposite treatment, and almost all bad cleaning comes from confusing them.
Surface soil is dust, grit, pollen, crumbs, fibres from a coat. It sits on top of the grain and it is mechanically loose. It comes off dry, with a brush or a shake, in about fifteen seconds. If you reach for a damp cloth first you have just turned loose grit into a grinding paste and you are now dragging it across a surface softer than it is. Most of the fine scratch-haze people blame on their bag's pockets was applied by their own cleaning cloth.
Absorbed soil is body oil, hand cream, food grease, the oil from a scalp on a bag strap that rides against a neck. It is in the grain, not on it. A brush does nothing. This is the layer that needs water, a trace of surfactant and — the part people get wrong — a method applied to the whole panel rather than the dirty bit.
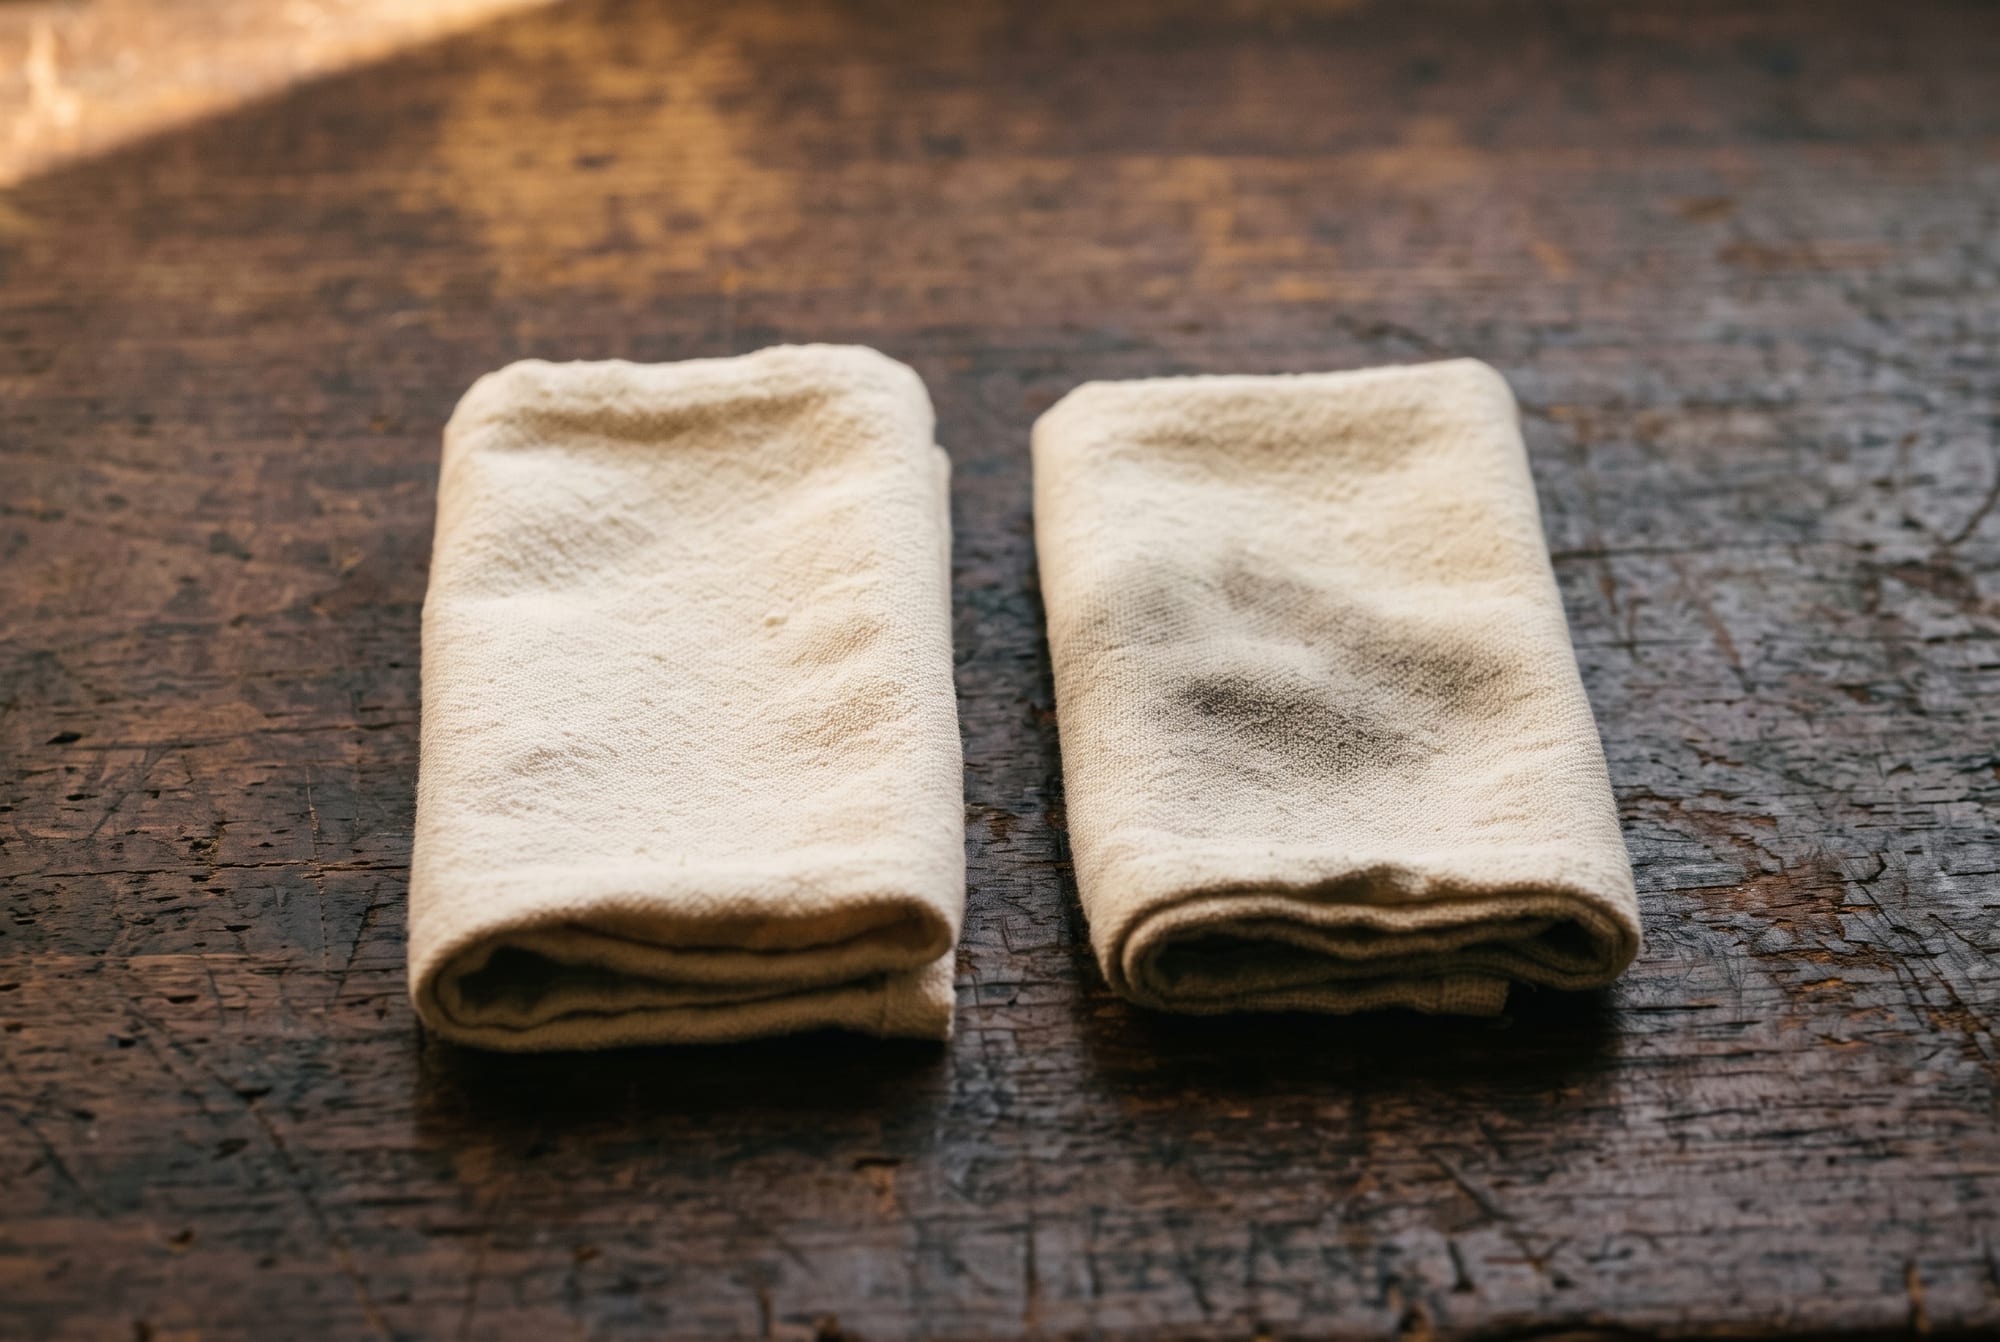
That cloth test is the single most useful thing in this article, and it costs nothing. It also settles an argument people have with themselves constantly, which is whether cleaning a well-loved piece means scrubbing off its history.
If it comes off on the cloth, it was never patina. Patina is oil that went in. Soil is oil that stopped going in and started collecting dust.
The rule that matters more than the product: never clean part of a panel
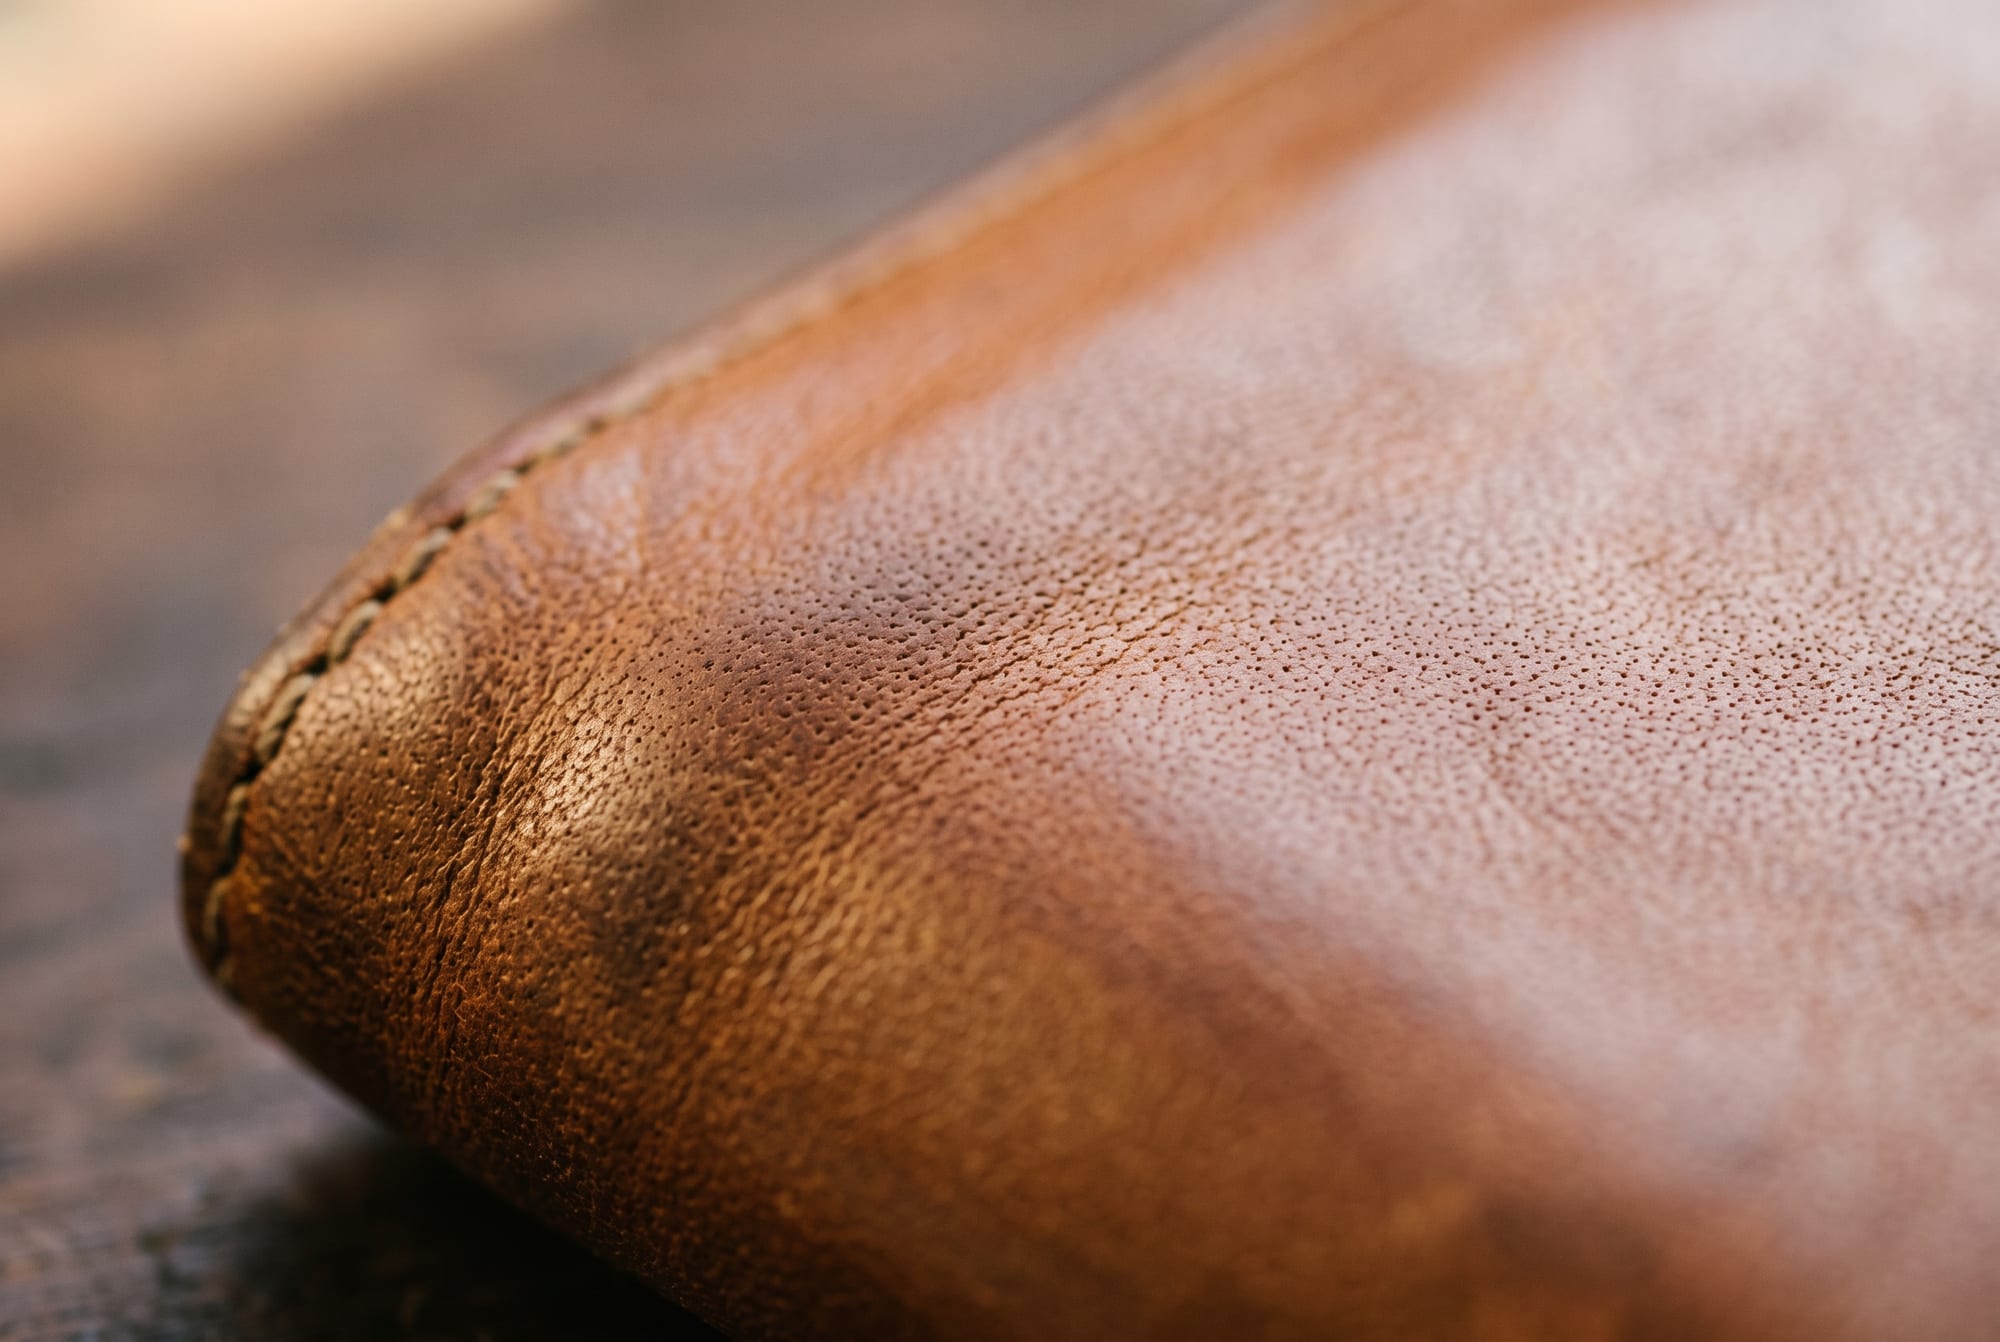
Here is the constraint that makes leather different from almost every other material in your house. On an uncoated, vegetable-tanned hide, water does not simply evaporate and leave. It redistributes what is dissolved in the leather as it goes, and it leaves a visible margin wherever the wet area ended.
Which means the dangerous instruction is the obvious one. You see a mark the size of a coin, you dampen a corner of a cloth, you address the mark — and you have traded a small dark spot for a pale ring four times its size. The first-aid guide covers this from the spill side. I want to say it from the cleaner's side, because here you are the one creating the island:
Clean the whole panel, edge to edge and seam to seam, or do not clean it at all. There is no such thing as locally cleaning a hide that marks with water.
A panel means a face bounded by something — a seam, a fold, an edge, a change of direction. On a wallet, the outside back is a panel. On a tote, one side is a panel. You work it evenly, in overlapping passes, with a cloth that is damp rather than wet, and you keep going until the whole face has had the same treatment. Then you let it dry flat, at room temperature, away from every radiator and hairdryer in the building, for several hours at least.
Two small things that make the difference between an even result and a blotchy one. Use distilled or filtered water if your tap water is hard — dissolved minerals dry as a faint pale haze, and on dark leather you will see it. And wring the cloth harder than feels right: it should feel cool and barely moist, not damp enough to leave a shine.
The cleaning ladder, and where to get off it
Nine jobs in ten are rung zero. People reach for rung three because it feels like doing something.
About saddle soap, honestly
Saddle soap has a reputation it earned somewhere else. It was made for harness and tack: thick, firm, usually undyed leather that lives outdoors, gets properly dirty, and is cleaned and re-fed on a working schedule by someone who expects to do it again next month. In that world it is excellent.
A wallet is not tack. The problem is not that saddle soap is harsh in the dramatic sense; it is that it is alkaline, and vegetable-tanned leather is finished on the acid side — the tannage and the dye are both fixed there. Shift the surface pH upwards and you work against that fixing. What you feel afterwards is a hide that has gone slightly dull, slightly grey in the colour, and noticeably thirstier than it was. That last part is why saddle soap and conditioner are sold as a pair: the soap creates the need the conditioner then meets.
So: on a firm, undyed, genuinely filthy piece, once, knowing you will re-feed it afterwards — fine. As a routine on a dyed wallet, it is a slow way to strip a finish you paid for. And if a piece is dirty enough to need rung four, it is worth one email to whoever made it before you commit.
Clean, then wait, then decide
The sequence is not negotiable and the middle step is the one people skip.
- Clean first. Because conditioning drives whatever is on the surface inwards — the whole argument of this article.
- Then let it dry properly. Hours, flat, room temperature, no heat and no sun. A hide that still holds cleaning moisture will take far more conditioner than it needs, because the surface reads as thirsty while the inside is not. This is one of the commonest routes to an over-conditioned piece.
- Then test, and probably do nothing. Bend an unobtrusive part gently and let go. If the crease relaxes out, the leather has enough oil in it and cleaning did not change that. Condition only if it stays.
Cleaning does not create an obligation to condition. It only creates the opportunity to do it properly, which is a different thing.
Where the dirt actually is, piece by piece
Soil is not evenly distributed and it is not random. It maps hands.
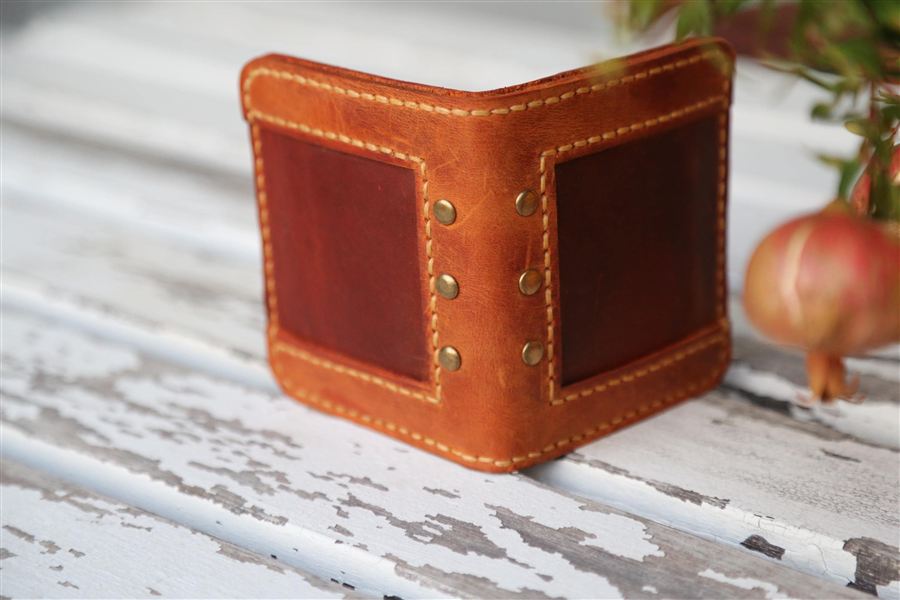
- Wallets: the thumb corner, the top edge of the outermost card slot, and the spine. The first two are mostly patina. The spine collects pocket lint and that genuinely does want a brush.
- Totes and bags: the handles, obviously, but also the back face where it rests against a coat — that one is fabric fibre and dye rather than oil, and a brush takes it.
- Table runners and placemats: the opposite problem. Almost no hand oil, a great deal of food. Crumbs and dry residue brush off; anything oily is a stain, not soil, and belongs in the first-aid protocol. Never put a runner under a tap.
- Armrest covers and sofa pieces: the heaviest sebum load of anything we make, because forearms sit on them for hours. These are the one category where rung two comes round occasionally, and they are also easy to do well, because an armrest cover is one flat panel.
- Pieces with lace or textile joined to them: do not wet the join. Work the leather with a cloth that is barely moist and keep it off the needle lace entirely; cotton thread and leather dry at different rates and the margin lands exactly along the seam.
What I would not let near it
Briefly, because the long version already exists. Baby wipes and cleansing wipes, which are a surfactant and a preservative in a lot of water. Washing-up liquid, which is a degreaser and will take fat-liquor out along with the grease. Alcohol and sanitiser, which lift dye on contact. And melamine foam — the white "magic" sponge — which does not clean anything chemically at all. It is an extremely fine abrasive. It works on a mug because glaze is harder than it is. On leather it removes the grain.
One more, because it looks so sensible: a vacuum cleaner brush head on a leather surface. The bristles on those are stiff nylon and the suction presses them in. Use a horsehair brush and your own hand.
How often?
Not on a schedule. This is the real difference between cleaning and conditioning, and it is worth being plain about because the care industry would rather you treated both as subscriptions.
Conditioning answers a slow, predictable process — oil leaving a hide — so it sits on a calendar, twice a year or less. Cleaning answers an event: a season of use, a meal, a crowded commute, a piece coming out of storage. So the honest schedule is: brush it when you think of it, and clean it when the dry cloth comes away grey. For most of what we make that is somewhere between once a year and once a decade, and for a table runner it may be never.
If you look at a piece and cannot decide, that is the answer. A hide that leaves you unsure does not need cleaning.
Leather is not a surface you maintain. It is a material that records what happens to it — and the only part worth removing is the part that has stopped being recorded and started sitting on top.
If you have a piece with a dark area and you genuinely cannot tell which kind it is, do the cloth test, photograph the cloth and the piece together in indirect daylight, and send both to info@pazleather.com. It is usually obvious to us in one look, and the wrong guess here is expensive in a way that cannot be undone.
Further reading
- Dye transfer both ways: why new leather marks a shirt, and jeans mark the leather
- How to care for handmade leather: the complete guide
- Olive oil, Vaseline, baby wipes: what not to put on leather
- Over-conditioned leather: limp, sticky, dark — and what comes back
- Leather stain first aid: what to do in the first five minutes
- What patina actually means, and how long it takes
- How to store a leather bag for a season or a decade
- Suede and nubuck care: why everything that feeds smooth leather ruins nap